Ingredients
Method
- Prepare your tin: Line a 20cm square baking tin with baking paper, leaving an overhang on two opposite sides. This creates handles for lifting the fudge out later. Grease the paper lightly with butter so the fudge releases without a fight.
- Melt the base: Place the sweetened condensed milk, both types of chocolate chips, and the cubed butter into your large microwave-safe bowl. Microwave on medium power (50%) for 1 minute. The mixture will look unchanged, but the bowl will feel warm to the touch.
- Stir and repeat: Stir vigorously with your rubber spatula for 30 seconds. You'll notice the chocolate beginning to soften and streak through the condensed milk, creating a marbled effect. Return to the microwave and heat on medium power for another 30 seconds.
- Final melt: Stir again. The mixture should now look mostly smooth, though a few small lumps of chocolate may remain. Heat for a final 20 seconds on medium power. When you stir, the fudge should be glossy, thick, and completely uniform in colour, with no visible chocolate pieces. If you see any lumps, stir for a full minute; the residual heat will melt them.
- Flavour and texture: Add the vanilla extract and salt. Stir until the aroma of vanilla becomes apparent, about 15 seconds. If using nuts or dried fruit, fold them in now until evenly distributed. The mixture will feel heavy and slightly stiff as you stir.
- Pour and smooth: Scrape the fudge into your prepared tin. Use the spatula to spread it into an even layer, pushing it into the corners. The surface should look shiny and smooth. Tap the tin gently on the counter a few times to release any air bubbles.
- Chill until firm: Place the tin in the refrigerator, uncovered, for at least 2 hours. The fudge is ready when the surface feels firm to the touch and the edges have pulled away slightly from the paper. If you press a finger gently into the centre, it should leave no indent.
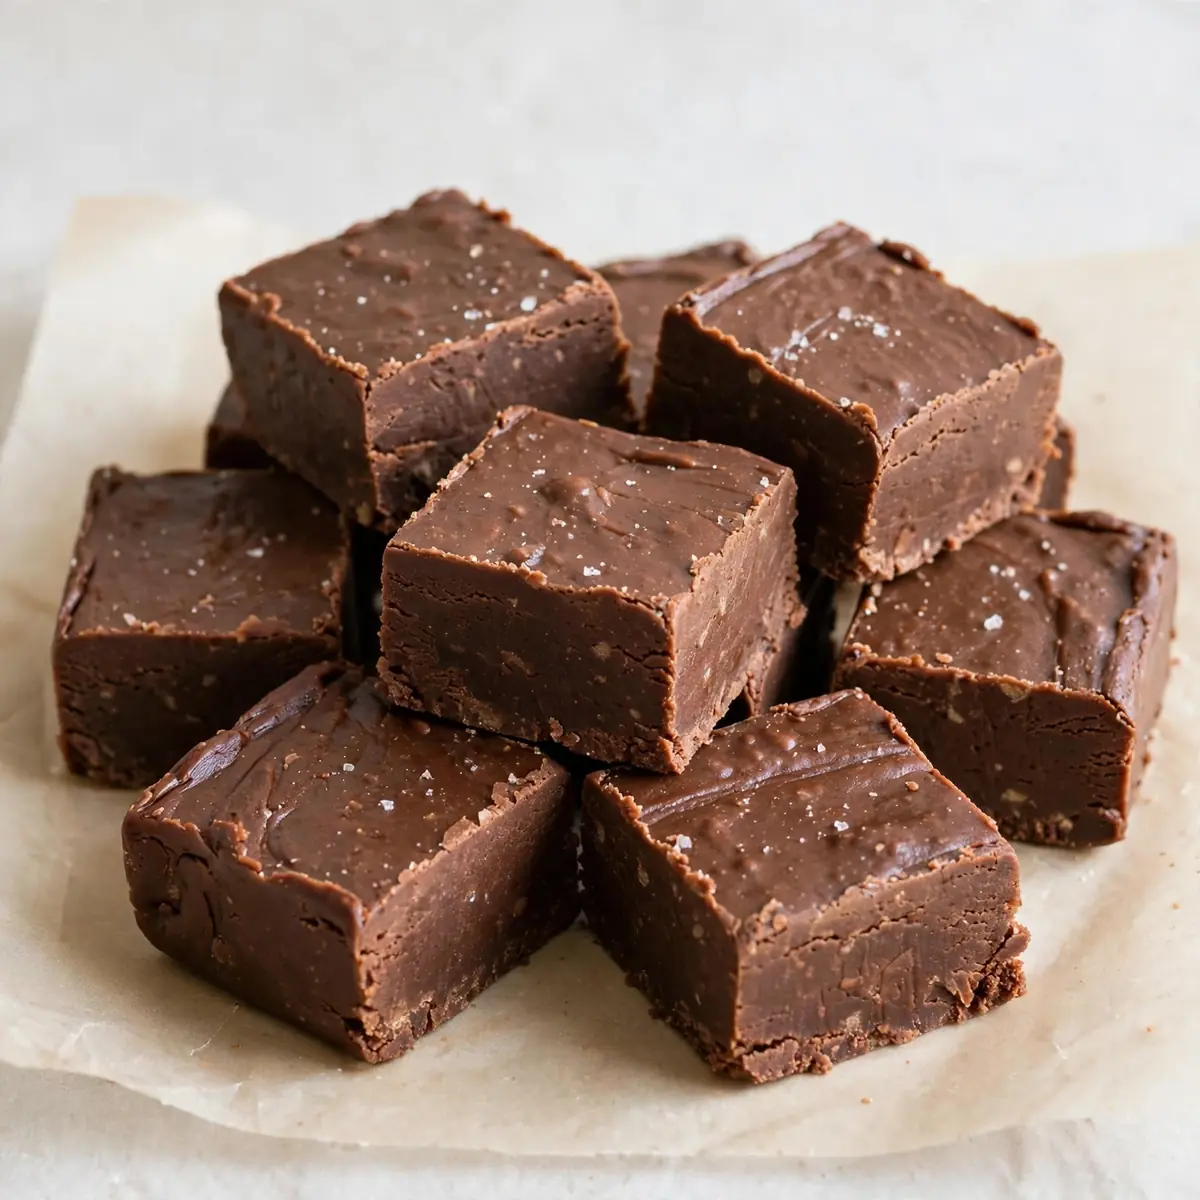
- Slice and serve: Lift the fudge out of the tin using the paper overhang. Place it on a cutting board. Use a sharp, large knife to cut into 36 small squares (6 rows by 6 rows). For clean cuts, wipe the knife blade with a damp cloth between each slice. The fudge should cut cleanly with no crumbling.
Notes
For clean slices, wipe the knife with a damp cloth between cuts. Fudge can be stored in an airtight container in the refrigerator for up to 2 weeks or frozen for up to 3 months.