Classic Fried Chicken Sandwich
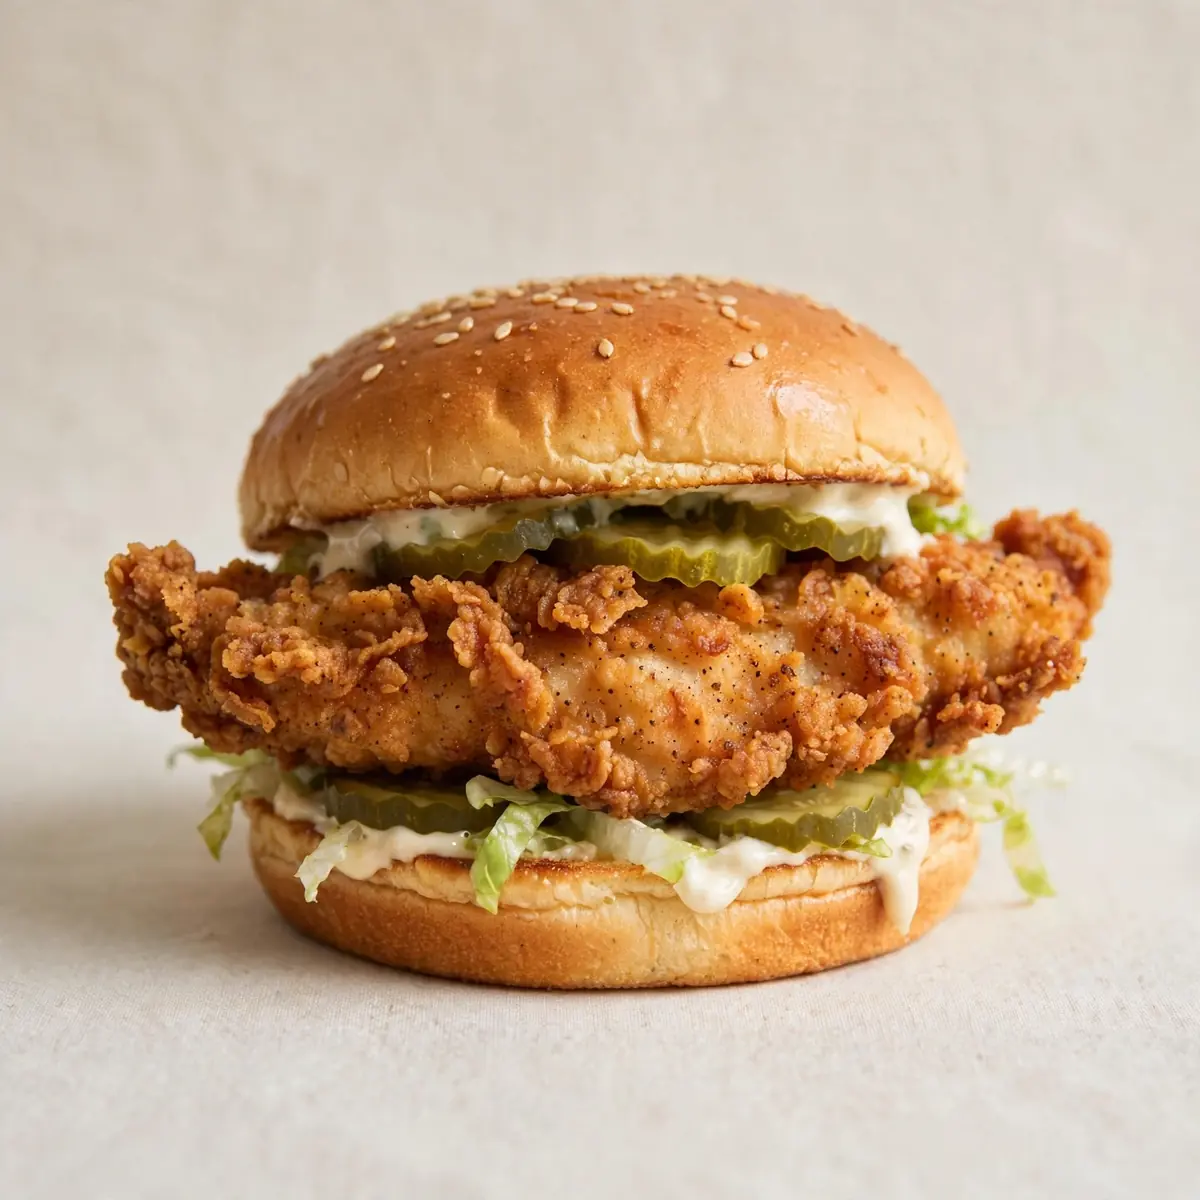
Some weeknights feel like a race against the clock, and the last thing you want is a sink full of pans. I stumbled upon this combination by accident, and it’s been a hit ever since: a proper fried chicken sandwich that’s actually ready in under 30 minutes, with the washing-up done before the kids finish their homework. This is our go-to for those evenings when we need something deeply satisfying but utterly simple.
Recipe Overview
- Prep Time: 10 minutes
- Cook Time: 12 minutes
- Total Time: 22 minutes
- Servings: 4 sandwiches
- Difficulty: Easy
Why You’ll Love This Classic Fried Chicken Sandwich
- Weeknight speed: From fridge to table in about 20 minutes, no complicated prep or slow marinades needed.
- Minimal mess: We use just one pan and one bowl, so cleanup takes less than five minutes.
- Make-ahead magic: The chicken can be seasoned and breaded the night before, stored in the fridge, then fried straight from the fridge when you walk in the door.
- Crispy every time: A clever technique using buttermilk and cornflour gives you that shatteringly crisp crust without deep-frying.
- Customisable for picky eaters: Keep the seasoning mild for little ones, then add hot sauce or extra spices for the adults at the table.
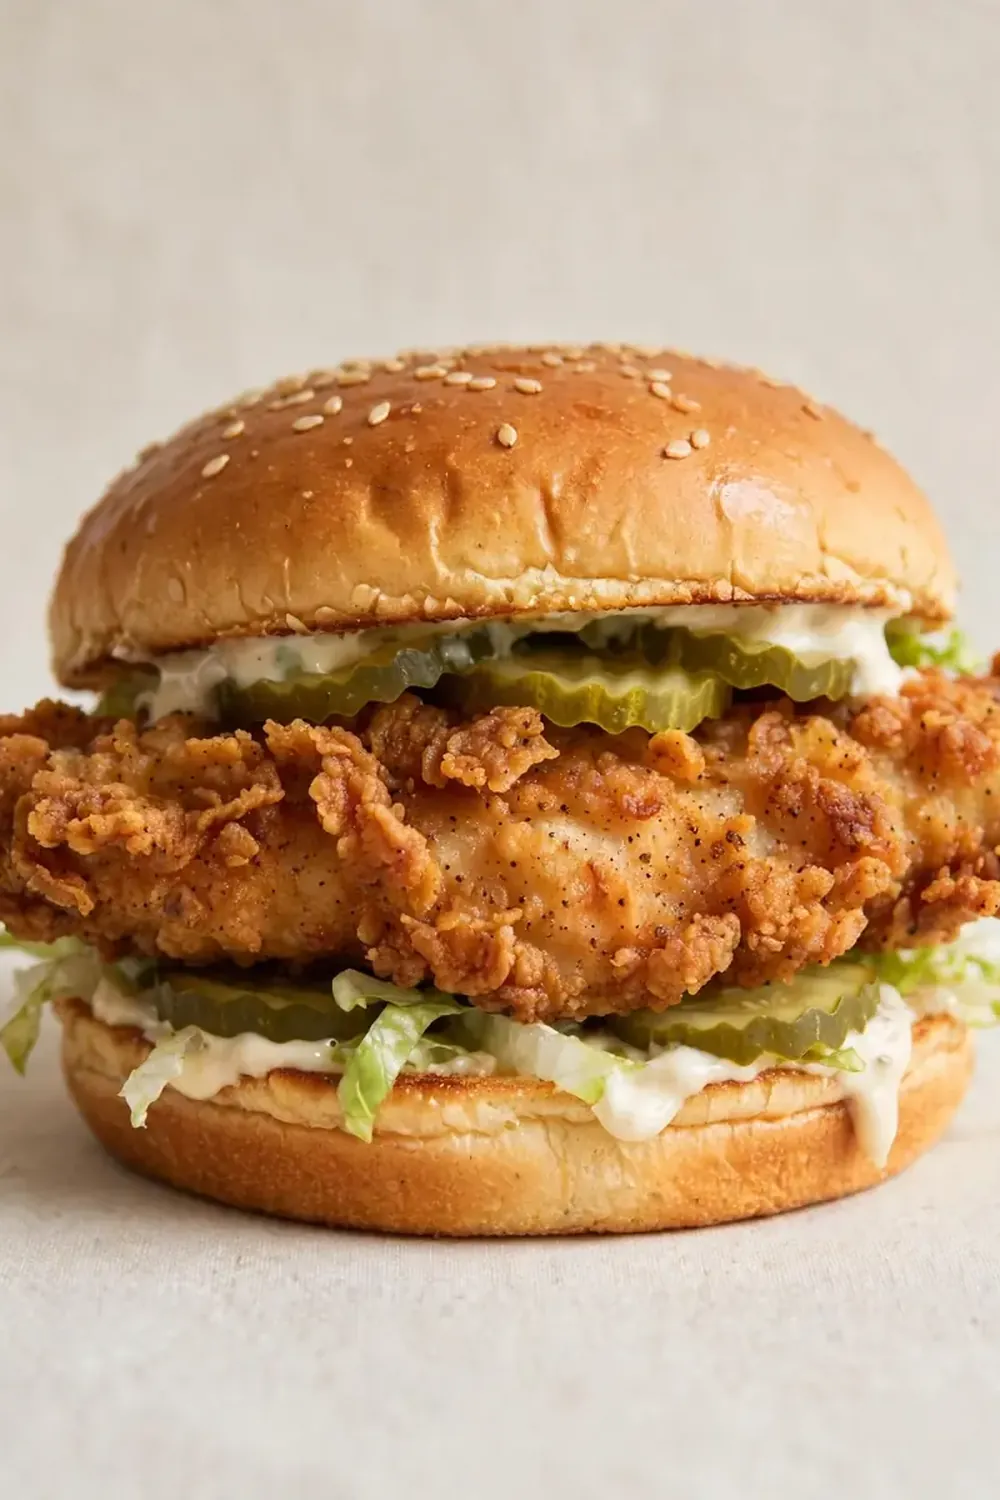
Ingredients You’ll Need
- 4 boneless, skinless chicken thighs (about 600g total)
- 240ml buttermilk (or 240ml whole milk mixed with 1 tablespoon lemon juice, left for 5 minutes)
- 100g plain flour
- 40g cornflour (cornstarch)
- 1 teaspoon salt
- 1 teaspoon smoked paprika
- ½ teaspoon garlic powder
- ½ teaspoon white pepper
- Vegetable oil for frying (about 250ml)
- 4 soft burger buns, split and lightly toasted
- 4 tablespoons mayonnaise
- 4 leaves crisp lettuce (iceberg or little gem)
- Pickled cucumber slices (optional)
Tip: If you can’t find buttermilk, the milk-and-lemon trick works brilliantly here and saves a special shop trip. I make this at least once a week – it’s become a family favourite.
How to Make Classic Fried Chicken Sandwich
- Prepare the chicken: Place each chicken thigh between two sheets of baking paper and gently flatten with a rolling pin until about 1cm thick. You want them even so they cook at the same speed. The chicken should feel slightly plump but uniform under your fingers.
- Wet the chicken: Pour the buttermilk into a shallow bowl. Add the chicken pieces, turning to coat each one thoroughly. Let them sit for 5 minutes while you prepare the dry mix. The buttermilk should look creamy and cling to the chicken like a thick coating.
- Make the seasoned flour: In a separate wide bowl, whisk together the plain flour, cornflour, salt, smoked paprika, garlic powder, and white pepper. The mix should smell fragrant and look a pale golden colour from the paprika.
- Dredge the chicken: One piece at a time, lift a thigh from the buttermilk, letting any excess drip off. Drop it into the seasoned flour and press down firmly with your fingers. Turn and press again until the chicken is completely coated. You should hear a light rustling sound as the flour clings to the wet surface. Place the breaded chicken on a plate.
- Heat the oil: Pour enough vegetable oil into a large frying pan to reach a depth of about 1cm. Heat over a medium-high flame until the oil shimmers and a pinch of flour sizzles immediately on contact. The oil should smell clean and hot, not smoky. This takes about 2 minutes.
- Fry the chicken: Gently lay the breaded thighs into the hot oil, leaving space between each piece. You will likely need to do this in two batches. Fry for 4 minutes on the first side. The underside should turn a deep golden brown and the crust will look crackled. Listen for a steady, gentle sizzle — if it’s too loud, lower the heat slightly. Flip with tongs and fry for another 3–4 minutes. The chicken should feel firm when pressed and the crust should look dark amber and crunchy.
- Rest the chicken: Transfer the fried chicken to a wire rack set over a baking tray. Do not put it on paper towels — the steam will soften the crust. Let it rest for 3 minutes. During this time, the chicken will continue cooking inside and the crust will set to a shatteringly crisp finish.
- Assemble the sandwiches: Spread 1 tablespoon of mayonnaise on the cut side of each toasted bun. Place a lettuce leaf on the bottom half, then add a piece of fried chicken. Top with pickled cucumber slices if using, then close the sandwich with the top bun. Serve immediately while the chicken is still hot and the bun is soft.
Tips From My Kitchen
- Flatten the chicken evenly: Uneven thickness means some parts will overcook and dry out while others remain undercooked. Flattening to a uniform 1cm ensures the chicken cooks through in the short frying time, keeping it juicy inside and crisp outside.
- Use cornflour for extra crunch: Cornflour absorbs moisture differently from plain flour and creates a lighter, crunchier crust. The combination of the two flours gives you that classic fast-food texture without the need for a deep fryer. The starch in the cornflour also helps the crust adhere better to the chicken.
- Don’t skip the rest time on a wire rack: Resting the chicken on paper towels traps steam against the crust, making it soggy within minutes. A wire rack allows air to circulate all around the chicken, keeping the crust crisp while any excess oil drips away. This single step makes the difference between a good sandwich and a great one.
- Toast the buns in the same pan: After frying the chicken, pour out the excess oil, leaving a thin film in the pan. Place the split buns cut-side down in the warm pan for about 30 seconds. They’ll absorb a hint of the seasoned oil and turn golden with crispy edges — no extra butter or effort required.
- Season the buttermilk too: Add a pinch of salt and a dash of hot sauce to your buttermilk before adding the chicken. This seasons the meat from the inside out, not just the coating. The salt helps the chicken retain moisture during frying, and the hot sauce adds a subtle warmth that doesn’t overpower.
Equipment You’ll Need
- Large frying pan or skillet (25cm or larger)
- Sharp knife and cutting board
- Mixing bowls (one shallow, one wide)
- Wooden spoon or spatula
- Rolling pin or heavy pan for flattening chicken
- Baking paper
- Tongs
- Wire rack with a baking tray underneath
Common Mistakes to Avoid
- Overcrowding the pan: Adding too many pieces of chicken at once lowers the oil temperature dramatically. The chicken will steam rather than fry, resulting in a pale, soft crust. Fry in batches of two at most, and let the oil come back up to temperature between batches.
- Wrong temperature: If the oil is too hot, the crust will burn before the chicken cooks through. If it’s too cool, the crust will absorb oil and become greasy. Aim for a steady medium-high heat where the oil shimmers but doesn’t smoke. A kitchen thermometer reading 175°C is ideal, but you can test with a pinch of flour — it should sizzle gently, not aggressively.
- Skipping the rest time: Cutting into the chicken immediately after frying lets all the juices run out onto the plate, leaving dry meat. The three-minute rest on the wire rack allows the juices to redistribute throughout the chicken, ensuring every bite is moist and tender.
Delicious Variations to Try
- Spicy Version: Add 1 teaspoon of cayenne pepper and ½ teaspoon of chilli flakes to the seasoned flour. For extra heat, mix a tablespoon of your favourite hot sauce into the mayonnaise before spreading it on the bun.
- Vegetarian/Vegan Option: Substitute the chicken with thick slices of firm tofu or large portobello mushrooms. Press the tofu for 20 minutes to remove excess moisture, then follow the same breading and frying method. The cornflour coating works beautifully on vegetables and plant proteins.
- Different Protein: Use turkey breast steaks pounded to 1cm thickness, or boneless chicken breast instead of thighs. Breast meat cooks slightly faster — reduce frying time by about 1 minute per side. For a beef version, try thin sirloin steaks cooked to medium-rare, though the frying time will be shorter.
What to Serve With Classic Fried Chicken Sandwich
- Crunchy coleslaw with a tangy vinaigrette
- Oven-baked potato wedges seasoned with paprika and garlic
- A simple green salad with lemon dressing
- Spicy Cajun Shrimp Boil for a surf-and-turf twist
- Extra pickled cucumbers or jalapeños on the side
Still hungry for ideas? You might also love Ultimate Fried Chicken Sandwich Recipes, Crispy Chicken Fried Chicken Recipe from our sister kitchens.
Frequently Asked Questions
Classic Fried Chicken Sandwich
Ingredients
Method
- Prepare the chicken: Place each chicken thigh between two sheets of baking paper and gently flatten with a rolling pin until about 1cm thick. You want them even so they cook at the same speed. The chicken should feel slightly plump but uniform under your fingers.
- Wet the chicken: Pour the buttermilk into a shallow bowl. Add the chicken pieces, turning to coat each one thoroughly. Let them sit for 5 minutes while you prepare the dry mix. The buttermilk should look creamy and cling to the chicken like a thick coating.
- Make the seasoned flour: In a separate wide bowl, whisk together the plain flour, cornflour, salt, smoked paprika, garlic powder, and white pepper. The mix should smell fragrant and look a pale golden colour from the paprika.
- Dredge the chicken: One piece at a time, lift a thigh from the buttermilk, letting any excess drip off. Drop it into the seasoned flour and press down firmly with your fingers. Turn and press again until the chicken is completely coated. You should hear a light rustling sound as the flour clings to the wet surface. Place the breaded chicken on a plate.
- Heat the oil: Pour enough vegetable oil into a large frying pan to reach a depth of about 1cm. Heat over a medium-high flame until the oil shimmers and a pinch of flour sizzles immediately on contact. The oil should smell clean and hot, not smoky. This takes about 2 minutes.
- Fry the chicken: Gently lay the breaded thighs into the hot oil, leaving space between each piece. You will likely need to do this in two batches. Fry for 4 minutes on the first side. The underside should turn a deep golden brown and the crust will look crackled. Listen for a steady, gentle sizzle — if it's too loud, lower the heat slightly. Flip with tongs and fry for another 3–4 minutes. The chicken should feel firm when pressed and the crust should look dark amber and crunchy.
- Rest the chicken: Transfer the fried chicken to a wire rack set over a baking tray. Do not put it on paper towels — the steam will soften the crust. Let it rest for 3 minutes. During this time, the chicken will continue cooking inside and the crust will set to a shatteringly crisp finish.
- Assemble the sandwiches: Spread 1 tablespoon of mayonnaise on the cut side of each toasted bun. Place a lettuce leaf on the bottom half, then add a piece of fried chicken. Top with pickled cucumber slices if using, then close the sandwich with the top bun. Serve immediately while the chicken is still hot and the bun is soft.
Notes
I hope this recipe becomes as regular a fixture in your weeknight rotation as it has in mine. When you make it, I’d love to hear how it went — did the kids ask for seconds? Did you try the spicy version? Drop a comment below and let me know. For another quick dinner idea that delivers big flavour with little fuss, check out our Beef And Bean Chili Award Winning recipe, or browse more weeknight-friendly meals at Cookbloom.Online. Happy cooking!