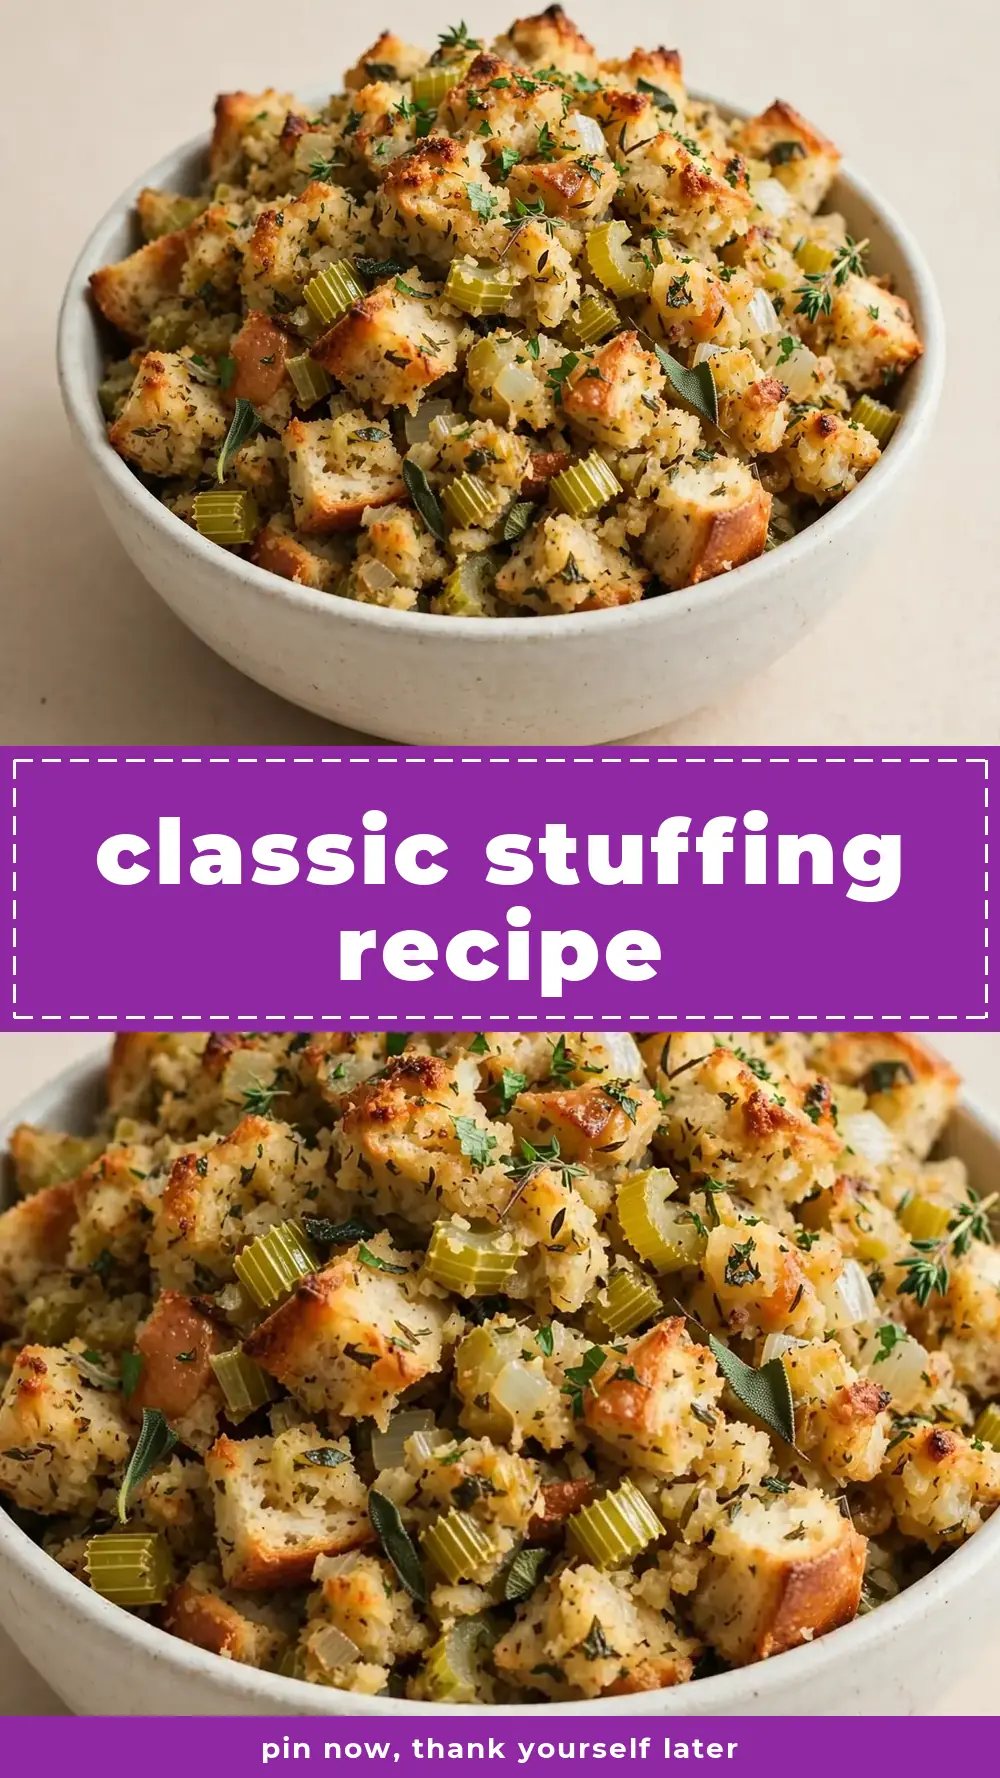
Classic Stuffing Recipe
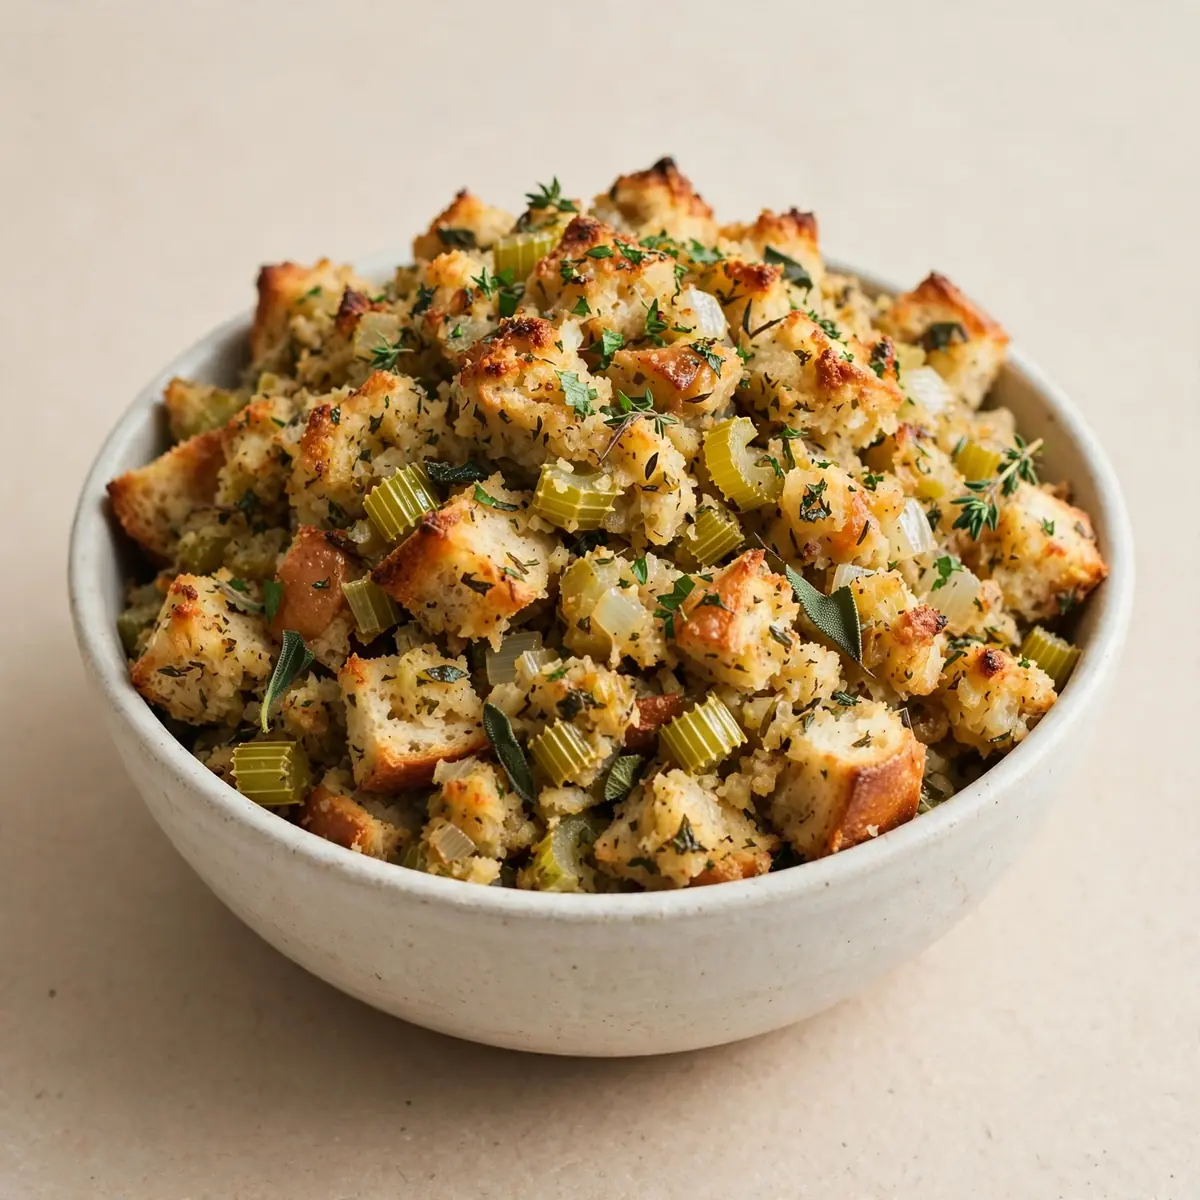
Let’s be honest: the last thing you need on a busy Tuesday evening is a complicated, multi-step dinner that leaves your kitchen looking like a bomb’s gone off. Between school runs, homework, and after-school clubs, I need meals that deliver big flavour without the drama. That’s why this classic stuffing recipe has become my secret weapon for a speedy weeknight dinner. It’s not just for the Christmas table; it’s the hearty, savoury, one-pan answer to “what’s for dinner?” that gets everyone to the table fast.
Recipe Overview
- Prep Time: 10 minutes
- Cook Time: 25 minutes
- Total Time: 35 minutes
- Servings: 4-6
- Difficulty: Easy
Why You’ll Love This Classic Stuffing Recipe
- One-Pan Wonder: Everything comes together in a single skillet or baking dish, meaning you spend less time scrubbing and more time relaxing — perfect alongside our Southern Shrimp And Grits, Classic Deviled Eggs, or Lemon Herb Grilled Chicken Skewers.online/classic-deviled-eggs/”>Classic Deviled Eggs.online/southern-shrimp-and-grits/”>Southern Shrimp And Grits.online/classic-beef-tacos/”>Classic Beef Tacos.online/creamy-garlic-parmesan-chicken-skillet/”>Creamy Garlic Parmesan Chicken Skillet.online/homemade-fudge/”>Homemade Fudge.online/classic-caesar-salad/”>Classic Caesar Salad.online/homemade-chicken-wings-game-day/”>Homemade Chicken Wings (Game Day).
- Weeknight Speedy: From start to finish, this dish is on the table in just over half an hour, making it a realistic option for those frantic evenings.
- Make-Ahead Magic: You can prep the entire dish the night before and simply reheat it, or even freeze it for a zero-effort dinner later in the week.
- Family Approved: My kids absolutely devour this every time I make it. It’s a guaranteed win with even the fussiest eaters.
- Budget-Friendly: Using simple, affordable pantry staples, this recipe proves you don’t need expensive ingredients to create something deeply satisfying.
Ingredients You’ll Need
- 1 large onion, finely chopped
- 2 celery sticks, finely chopped
- 3 cloves garlic, minced
- 60g unsalted butter
- 500g good-quality sausagemeat (or minced chicken/thigh meat)
- 1 teaspoon dried sage
- 1 teaspoon dried thyme
- ½ teaspoon black pepper
- ½ teaspoon salt
- 250g fresh breadcrumbs (from about 4-5 slices of day-old bread)
- 250ml chicken or vegetable stock
- 1 large egg, beaten
- Optional: 50g dried cranberries for a touch of sweetness
Tip: For the best texture, use slightly stale bread. If your bread is fresh, cube it and spread it on a baking tray in a 150°C oven for about 5 minutes to dry it out a little. This prevents the stuffing from becoming a soggy mess.
How to Make Classic Stuffing Recipe
- Sweat the aromatics: Melt the butter in a large, oven-safe skillet (or frying pan) over a medium heat. Add the chopped onion and celery. Cook for 5-7 minutes, stirring occasionally, until the onion turns translucent and you can smell a sweet, mellow aroma. The celery should be softening but still have a slight bite.
- Brown the meat: Add the sausagemeat (or minced chicken) to the pan. Break it up with a wooden spoon and cook for 6-8 minutes. You’re looking for the meat to lose all its pinkness and start to turn a deep golden brown—that’s the flavour developing. The sound should shift from a sizzle to a more gentle crackle as the moisture evaporates.
- Add the garlic and herbs: Stir in the minced garlic, dried sage, dried thyme, salt, and pepper. Cook for just one minute until the garlic is fragrant—you’ll smell it immediately. Be careful not to burn the garlic, as it will turn bitter.
- Combine the dry ingredients: Tip the breadcrumbs (and dried cranberries, if using) into the pan. Stir everything together until the breadcrumbs are evenly coated in the buttery, meaty mixture. The colour will be a warm, speckled beige.
- Moisten the mixture: Pour the stock into the pan, then add the beaten egg. Stir vigorously until everything is combined. The mixture should look very wet and almost porridge-like; it will firm up as it bakes. If it looks dry, add a splash more stock.
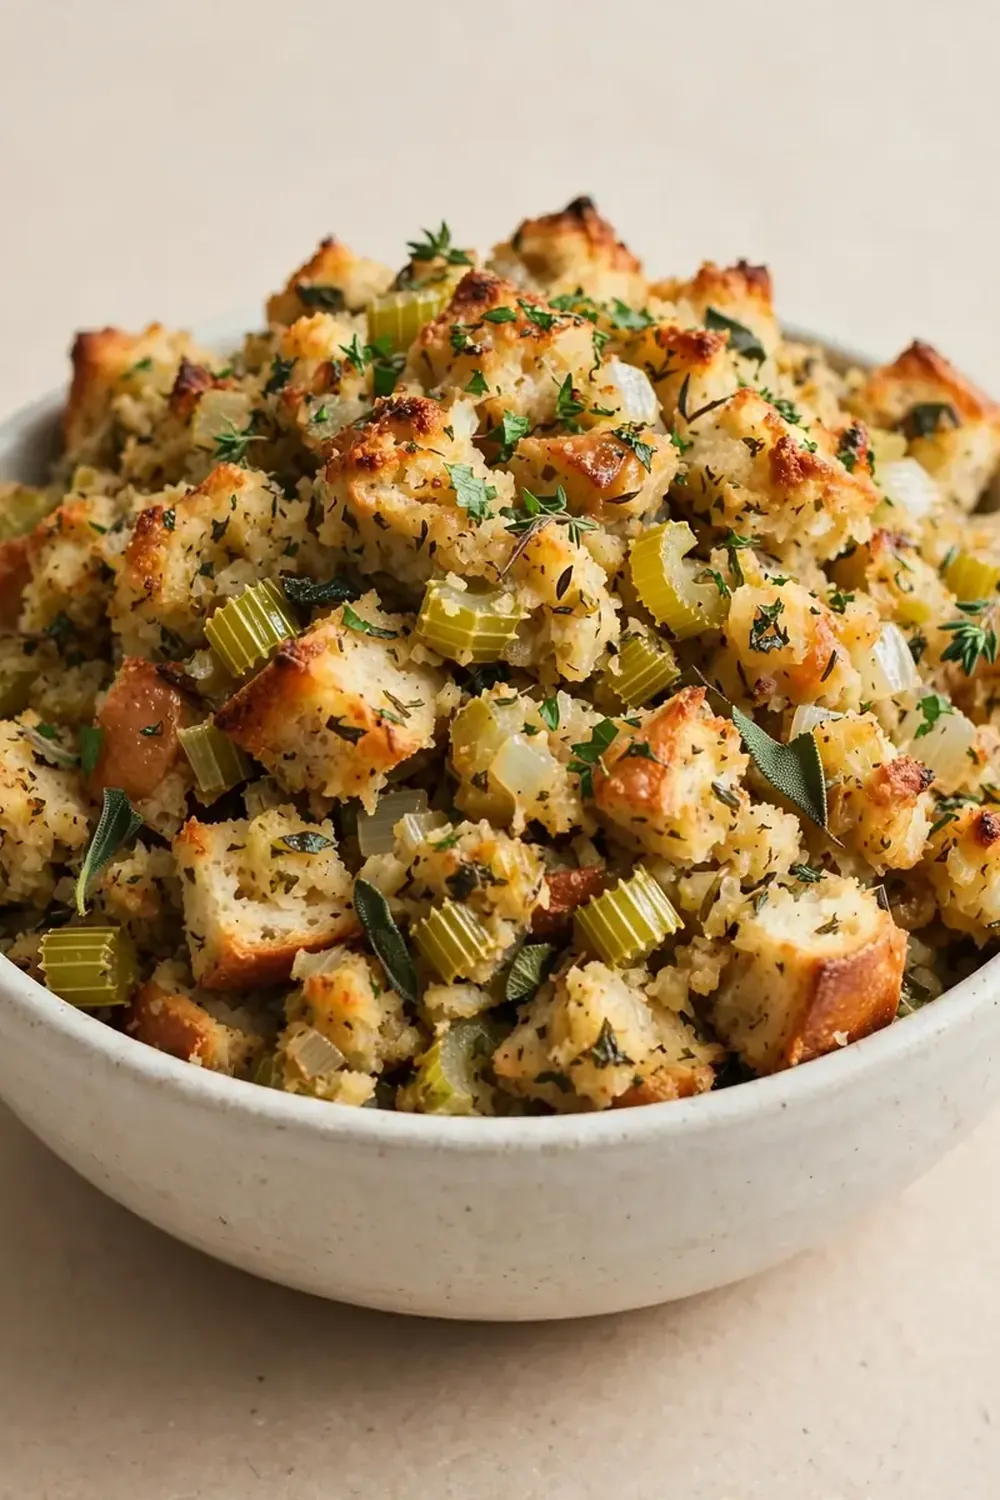
- Bake to perfection: Smooth the top of the stuffing with the back of a spoon. Transfer the skillet to a preheated oven at 190°C (fan-assisted). Bake for 20-25 minutes. You’ll know it’s done when the top is a beautiful, crisp golden brown and the edges are bubbling. The smell filling your kitchen will be pure comfort.
- Rest before serving: Remove the skillet from the oven and let it rest for 5 minutes. This allows the stuffing to set, making it easier to slice or scoop. The top should feel firm to a gentle touch, not wobbly.
Tips From My Kitchen
- Use a metal or oven-safe skillet: If you start the recipe in a pan that can go straight into the oven, you save yourself from washing an extra dish. A cast-iron skillet is perfect for this. If you don’t have one, simply transfer the mixture to a greased 20x20cm baking dish before baking.
- Don’t skip the egg: The egg acts as a binder. Without it, your stuffing will be crumbly and fall apart when you serve it. It gives the final dish a lovely, cohesive texture that holds its shape.
- Season the breadcrumbs, not just the meat: Breadcrumbs are like a sponge; they absorb flavour. Make sure you’ve seasoned the whole mixture well. Taste the raw mixture (without the egg) on the tip of your tongue—it should taste well-seasoned, but not salty.
- For a crispier top, broil (grill) at the end: After the stuffing is baked, switch your oven to the grill setting and cook for an extra 2-3 minutes. Watch it carefully! You want a deep golden crust, not a burnt one. The difference in texture is fantastic.
- Make it ahead of time: Prepare the stuffing completely up to the point of baking. Cover and refrigerate for up to 24 hours. When you’re ready to eat, bake it straight from the fridge, adding about 10 extra minutes to the cooking time. This is a lifesaver on chaotic days.
Common Mistakes to Avoid
- Overcrowding the pan: If you’re doubling the recipe, don’t use the same size pan. A deep, overcrowded pan will steam the stuffing rather than bake it, resulting in a soggy texture. Use a larger dish or two separate pans to ensure even cooking and that lovely crispy top.
- Wrong temperature: Baking at too low a temperature (below 180°C) will dry out the stuffing before it has a chance to brown properly. Conversely, an oven that’s too hot (above 220°C) will burn the top before the centre is cooked through. Stick to 190°C for the best result.
- Skipping the rest time: I know it’s tempting to dive straight in, but resting is crucial. If you skip this step, the stuffing will be loose and wet, falling apart as you try to serve it. Those five minutes allow the starches to set and the moisture to redistribute, giving you perfect slices.
Delicious Variations to Try
- Spicy Version: Add one finely chopped red chilli (deseeded for less heat) along with the garlic. You can also add a teaspoon of smoked paprika or a pinch of cayenne pepper for a smoky warmth that my husband, who’s usually picky, asked for seconds of!
- Vegetarian/Vegan Option: Replace the meat with 400g of finely chopped mushrooms (chestnut or portobello work best) and a can of drained and rinsed lentils. Use a vegan butter substitute and a flax egg (1 tablespoon ground flaxseed mixed with 3 tablespoons water) instead of the egg. The mushrooms provide a wonderful, savoury depth.
- Different Protein: Swap the pork sausagemeat for minced turkey or beef. For a richer flavour, try shredded, cooked chicken. If you’re looking for a seafood twist, flaked, smoked mackerel works surprisingly well, adding a lovely umami kick. For another hearty option, check out our Classic Mac And Cheese Southern Style for a completely different kind of comfort.
What to Serve With Classic Stuffing Recipe
To turn this stuffing into a complete weeknight meal, pair it with a simple steamed green vegetable like broccoli or green beans. A dollop of cranberry sauce or a spoonful of rich gravy is the perfect finishing touch. For a more substantial dinner, serve it alongside a simple roast chicken or a piece of grilled fish. If you’re in the mood for another quick protein, our Grilled Flank Steak With Garlic Marinade would be a fantastic, flavourful companion.
- Simple steamed greens (broccoli, green beans, or peas)
- Cranberry sauce or a dollop of redcurrant jelly
- Rich, homemade or good-quality shop-bought gravy
- A side of creamy mashed potatoes or roast potatoes
Frequently Asked Questions
Classic Stuffing Recipe
Ingredients
Method
-
Sweat the aromatics: Melt the butter in a large, oven-safe skillet (or frying pan) over a medium heat. Add the chopped onion and celery. Cook for 5-7 minutes, stirring occasionally, until the onion turns translucent and you can smell a sweet, mellow aroma. The celery should be softening but still have a slight bite.
-
Brown the meat: Add the sausagemeat (or minced chicken) to the pan. Break it up with a wooden spoon and cook for 6-8 minutes. You’re looking for the meat to lose all its pinkness and start to turn a deep golden brown—that’s the flavour developing. The sound should shift from a sizzle to a more gentle crackle as the moisture evaporates.
-
Add the garlic and herbs: Stir in the minced garlic, dried sage, dried thyme, salt, and pepper. Cook for just one minute until the garlic is fragrant—you’ll smell it immediately. Be careful not to burn the garlic, as it will turn bitter.
-
Combine the dry ingredients: Tip the breadcrumbs (and dried cranberries, if using) into the pan. Stir everything together until the breadcrumbs are evenly coated in the buttery, meaty mixture. The colour will be a warm, speckled beige.
-
Moisten the mixture: Pour the stock into the pan, then add the beaten egg. Stir vigorously until everything is combined. The mixture should look very wet and almost porridge-like; it will firm up as it bakes. If it looks dry, add a splash more stock.
-
Bake to perfection: Smooth the top of the stuffing with the back of a spoon. Transfer the skillet to a preheated oven at 190°C (fan-assisted). Bake for 20-25 minutes. You’ll know it’s done when the top is a beautiful, crisp golden brown and the edges are bubbling. The smell filling your kitchen will be pure comfort.
-
Rest before serving: Remove the skillet from the oven and let it rest for 5 minutes. This allows the stuffing to set, making it easier to slice or scoop. The top should feel firm to a gentle touch, not wobbly.
Notes
There you have it—a classic stuffing recipe that’s been reimagined for the real, busy weeknights we all face. It’s proof that you don’t need a special occasion to enjoy something so hearty and satisfying. I’d love to hear how this works for your family—drop a comment below and let me know if you tried any of the variations! For more quick and satisfying dinner ideas that won’t keep you stuck in the kitchen, browse our full collection of Dinner Recipes.