Homemade Fudge
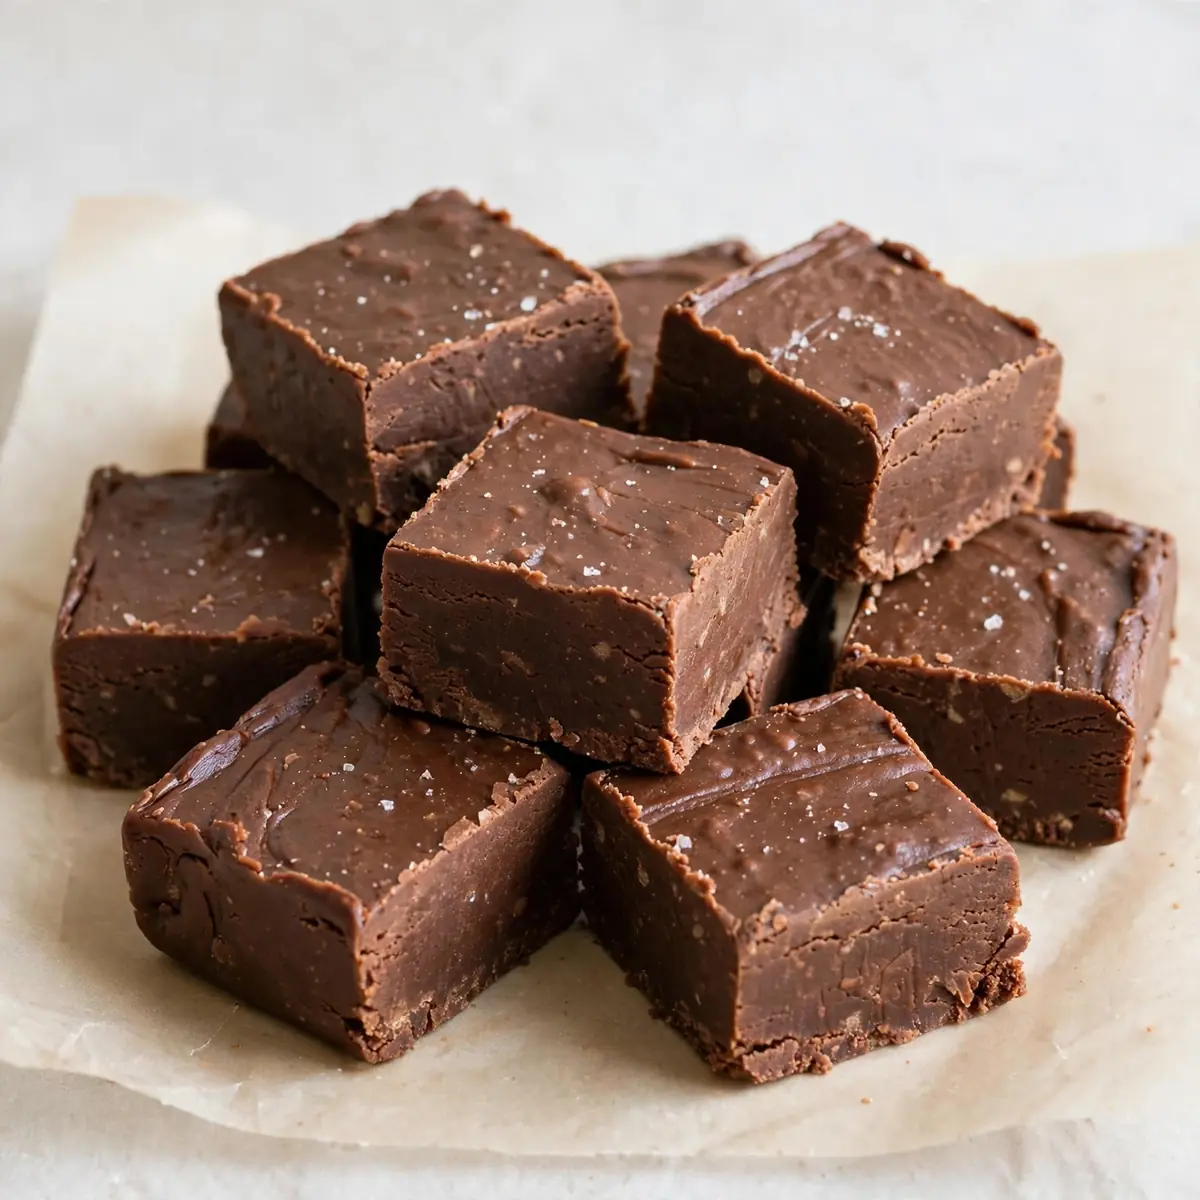
I’ve been making this homemade fudge for over 3 years, and it never disappoints, especially on those frantic weeknights when the clock seems to be sprinting towards dinner time. This isn’t the fussy, boil-to-soft-ball-stage fudge your grandmother made; it’s a clever, no-bake shortcut that comes together in the microwave, uses one bowl, and delivers that same rich, creamy texture we all crave. Let’s get straight to the recipe that will save your sanity on a busy Tuesday.
Recipe Overview
- Prep Time: 5 minutes
- Cook Time: 3 minutes (microwave) + 2 hours chilling
- Total Time: 2 hours 8 minutes (mostly hands-off)
- Servings: 36 small squares
- Difficulty: Easy (no candy thermometer needed)
Why You’ll Love This Homemade Fudge
- Weeknight Speed: This fudge is ready to chill in under 10 minutes of active work, leaving you free to help with homework or just put your feet up.
- Minimal Cleanup: We’re using one microwave-safe bowl and a spatula. That’s it. No sticky saucepans, no burnt sugar to scrub.
- Make-Ahead Magic: You can prepare this fudge days in advance, or even freeze it for up to three months, making it a lifesaver for last-minute events or school bake sales.
- Consistently Creamy: Because we’re using sweetened condensed milk and chocolate chips, the texture is foolproof. No risk of graininess, which is a common issue with traditional stovetop methods.
- No Special Equipment: If you own a microwave and a fridge, you can make this fudge. No candy thermometers, no double boilers, no fuss.
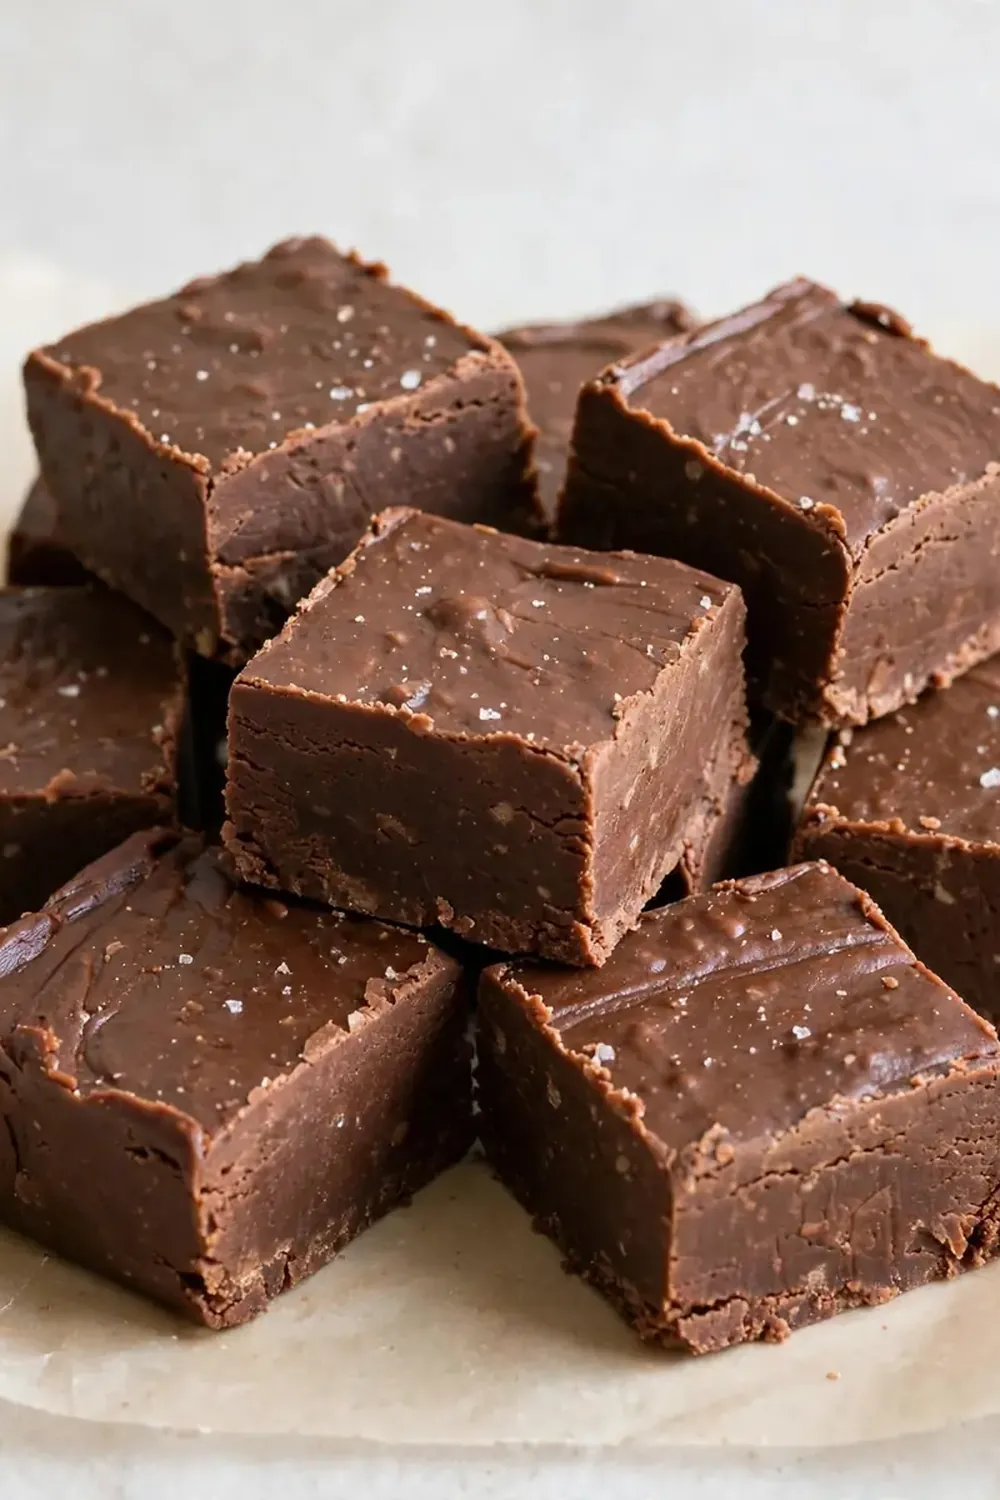
Ingredients You’ll Need
- 400g sweetened condensed milk (1 standard tin)
- 350g milk chocolate chips (or chopped milk chocolate)
- 200g dark chocolate chips (or chopped dark chocolate, 50-70% cocoa)
- 50g unsalted butter, cubed
- 1 teaspoon vanilla extract
- ¼ teaspoon fine sea salt
- Optional: 100g chopped walnuts or pecans
- Optional: 50g dried cherries or cranberries
Tip: For the silkiest texture, use good-quality chocolate you’d happily eat on its own. Cheap chocolate chips often contain stabilisers that prevent them from melting smoothly, which can result in a slightly grainy fudge.
Equipment You’ll Need
- Large microwave-safe bowl (at least 2 litres capacity)
- Rubber spatula or wooden spoon
- 20cm (8-inch) square baking tin
- Baking paper (parchment paper)
- Sharp knife for cutting
How to Make Homemade Fudge
- Prepare your tin: Line a 20cm square baking tin with baking paper, leaving an overhang on two opposite sides. This creates handles for lifting the fudge out later. Grease the paper lightly with butter so the fudge releases without a fight.
- Melt the base: Place the sweetened condensed milk, both types of chocolate chips, and the cubed butter into your large microwave-safe bowl. Microwave on medium power (50%) for 1 minute. The mixture will look unchanged, but the bowl will feel warm to the touch.
- Stir and repeat: Stir vigorously with your rubber spatula for 30 seconds. You’ll notice the chocolate beginning to soften and streak through the condensed milk, creating a marbled effect. Return to the microwave and heat on medium power for another 30 seconds.
- Final melt: Stir again. The mixture should now look mostly smooth, though a few small lumps of chocolate may remain. Heat for a final 20 seconds on medium power. When you stir, the fudge should be glossy, thick, and completely uniform in colour, with no visible chocolate pieces. If you see any lumps, stir for a full minute; the residual heat will melt them.
- Flavour and texture: Add the vanilla extract and salt. Stir until the aroma of vanilla becomes apparent, about 15 seconds. If using nuts or dried fruit, fold them in now until evenly distributed. The mixture will feel heavy and slightly stiff as you stir.
- Pour and smooth: Scrape the fudge into your prepared tin. Use the spatula to spread it into an even layer, pushing it into the corners. The surface should look shiny and smooth. Tap the tin gently on the counter a few times to release any air bubbles.
- Chill until firm: Place the tin in the refrigerator, uncovered, for at least 2 hours. The fudge is ready when the surface feels firm to the touch and the edges have pulled away slightly from the paper. If you press a finger gently into the centre, it should leave no indent.
- Slice and serve: Lift the fudge out of the tin using the paper overhang. Place it on a cutting board. Use a sharp, large knife to cut into 36 small squares (6 rows by 6 rows). For clean cuts, wipe the knife blade with a damp cloth between each slice. The fudge should cut cleanly with no crumbling.
Tips From My Kitchen
- Use medium power on your microwave: High power can scorch the condensed milk and seize the chocolate, creating a grainy, separated mess. Medium power (50%) heats gently and evenly, allowing the fats to emulsify properly. I stumbled upon this combination by accident after ruining a batch on high heat, and it’s been a hit ever since.
- Don’t skip the salt: Salt isn’t just for flavour; it balances the intense sweetness of the condensed milk and deepens the chocolate taste. Without it, the fudge can taste one-dimensional and cloying. A good pinch of flaky sea salt on top before chilling is also wonderful.
- Chill thoroughly before cutting: Warm fudge is a sticky mess that will cling to your knife and deform. The full 2-hour chill ensures the fats are fully set, giving you those clean, sharp edges. For the neatest squares, chill for 3 hours or even overnight.
- Line your tin properly: Don’t just drop a sheet of paper into the tin. Fold the paper so it creases neatly into the corners, and let the overhang extend at least 5cm above the rim. This simple step prevents the fudge from leaking underneath the paper and gives you perfect handles for lifting.
- Make it your own with add-ins: This base recipe is a blank canvas. Stir in 100g of crushed biscuits (digestives or hobnobs work well) for a crunchy texture, or swirl in 3 tablespoons of peanut butter or cookie butter just before pouring for a marbled effect.
Delicious Variations to Try
- Spicy Version: Add ½ teaspoon of cayenne pepper and 1 teaspoon of ground cinnamon to the melted fudge along with the vanilla. The warmth builds slowly and contrasts beautifully with the creamy sweetness. A sprinkle of flaky sea salt on top finishes the flavour profile.
- Vegan Option: Use a high-quality vegan condensed milk (coconut-based works best) and replace the dairy chocolate with vegan dark chocolate chips. Use a vegan butter block. The texture will be slightly softer, so chill for an extra hour before slicing.
- Different Protein: While this is a sweet treat, for a more filling snack-style bar, fold in 50g of toasted pumpkin seeds and 30g of coconut flakes along with the nuts. This adds protein and a satisfying crunch, making it a better option for after-school hunger.
What to Serve With Homemade Fudge
- A scoop of vanilla bean ice cream for an indulgent dessert
- Fresh strawberries or raspberries to cut through the sweetness
- Strong black coffee or a glass of cold milk
- Crumbled over a bowl of Greek yoghurt for a quick sweet treat
Frequently Asked Questions
Homemade Fudge
Ingredients
Method
- Prepare your tin: Line a 20cm square baking tin with baking paper, leaving an overhang on two opposite sides. This creates handles for lifting the fudge out later. Grease the paper lightly with butter so the fudge releases without a fight.
- Melt the base: Place the sweetened condensed milk, both types of chocolate chips, and the cubed butter into your large microwave-safe bowl. Microwave on medium power (50%) for 1 minute. The mixture will look unchanged, but the bowl will feel warm to the touch.
- Stir and repeat: Stir vigorously with your rubber spatula for 30 seconds. You'll notice the chocolate beginning to soften and streak through the condensed milk, creating a marbled effect. Return to the microwave and heat on medium power for another 30 seconds.
- Final melt: Stir again. The mixture should now look mostly smooth, though a few small lumps of chocolate may remain. Heat for a final 20 seconds on medium power. When you stir, the fudge should be glossy, thick, and completely uniform in colour, with no visible chocolate pieces. If you see any lumps, stir for a full minute; the residual heat will melt them.
- Flavour and texture: Add the vanilla extract and salt. Stir until the aroma of vanilla becomes apparent, about 15 seconds. If using nuts or dried fruit, fold them in now until evenly distributed. The mixture will feel heavy and slightly stiff as you stir.
- Pour and smooth: Scrape the fudge into your prepared tin. Use the spatula to spread it into an even layer, pushing it into the corners. The surface should look shiny and smooth. Tap the tin gently on the counter a few times to release any air bubbles.
- Chill until firm: Place the tin in the refrigerator, uncovered, for at least 2 hours. The fudge is ready when the surface feels firm to the touch and the edges have pulled away slightly from the paper. If you press a finger gently into the centre, it should leave no indent.
- Slice and serve: Lift the fudge out of the tin using the paper overhang. Place it on a cutting board. Use a sharp, large knife to cut into 36 small squares (6 rows by 6 rows). For clean cuts, wipe the knife blade with a damp cloth between each slice. The fudge should cut cleanly with no crumbling.
Notes
I’d love to see how this fudge turns out in your kitchen. Drop a comment below and let me know which variation you tried, or share your own twist on this weeknight-friendly recipe. For another sweet treat that’s just as easy, take a look at our Classic Rice Krispie Treats, or if you’re craving something savoury after all this sugar, try our Grilled Flank Steak With Garlic Marinade for a speedy dinner. Happy cooking, everyone.