Homemade Pumpkin Pie
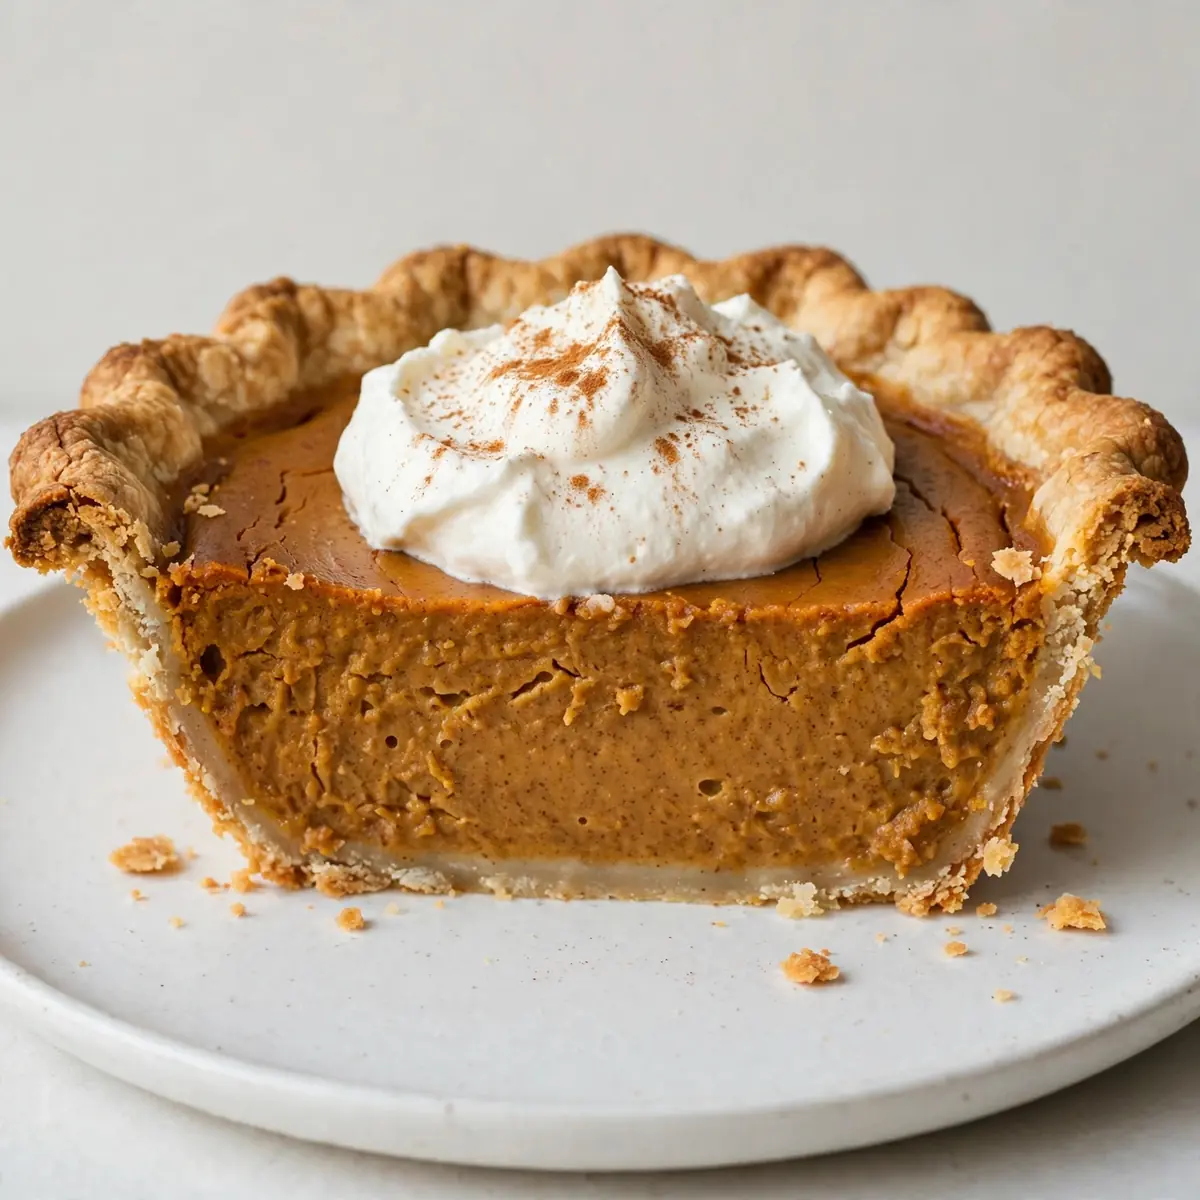
On the days when the school run and after-work meetings blur into one, the last thing I want is a sink full of pans. Yet, I still crave that deep, spiced warmth of a homemade dessert. This Homemade Pumpkin Pie is my secret weapon for a busy weeknight—it comes together in a flash, uses one bowl for the filling, and tastes like I’ve been slaving away for hours.
Recipe Overview
- Prep Time: 15 minutes
- Cook Time: 45 minutes
- Total Time: 1 hour (plus 2 hours cooling time)
- Servings: 8 generous slices
- Difficulty: Easy
Why You’ll Love This Homemade Pumpkin Pie
- One-Bowl Filling: No need to dirty a mixer or multiple bowls. We whisk everything by hand in a single large bowl for minimal cleanup.
- Ready in Under an Hour: From the moment you preheat the oven to the moment it goes in, you’re looking at about 15 minutes of active work.
- Make-Ahead Magic: You can blind-bake the crust the night before and store it at room temperature, then whisk the filling and bake the next evening.
- Kid-Approved Simplicity: My kids absolutely devour this every time I make it, and they feel the same about Ground Beef Enchilada Casserole.online/classic-stuffing-recipe/”>Classic Stuffing Recipe.online/classic-rice-krispie-treats/”>Classic Rice Krispie Treats. The texture is silky, and the spice level is gentle enough for younger palates.
- Uses Store-Cupboard Staples: Tinned pumpkin, evaporated milk, and basic spices mean you can whip this up without a special trip to the shops.
Ingredients You’ll Need
- 1 x 425g tin of pumpkin purée (not pumpkin pie filling)
- 200g golden caster sugar
- 1 teaspoon ground cinnamon
- ½ teaspoon ground ginger
- ¼ teaspoon ground cloves
- ¼ teaspoon ground nutmeg
- ½ teaspoon fine sea salt
- 2 large free-range eggs
- 1 x 400ml tin of evaporated milk
- 1 teaspoon vanilla extract
- 1 x 23cm unbaked shortcrust pastry case (shop-bought or homemade)
Tip: If you want a super-quick start, use a pre-rolled, ready-made shortcrust pastry sheet. Press it into your tin, crimp the edges, and you’re set. This cuts the prep time down to almost nothing.
How to Make Homemade Pumpkin Pie
- Preheat the oven and prepare the crust. Set your oven to 200°C (180°C fan). Place your unbaked pastry case on a baking tray lined with parchment paper. This catches any drips and makes cleanup a breeze. Prick the base of the pastry all over with a fork—you’ll see tiny steam holes that stop the base from puffing up.
- Blind-bake the crust (optional but recommended). Line the pastry with a sheet of parchment and fill with baking beans or dried lentils. Bake for 12 minutes until the edges look pale gold and feel dry to the touch. Remove the parchment and beans, then bake for another 5 minutes until the base is a light biscuit colour and slightly firm.
- Whisk the dry ingredients. In a large bowl, combine the golden caster sugar, cinnamon, ginger, cloves, nutmeg, and salt. Whisk them together until you can smell the spices blooming—that fragrant, warm aroma tells you they’re ready.
- Add the wet ingredients. Crack the eggs into the spiced sugar and whisk vigorously until the mixture is thick, pale, and falls in a ribbon from the whisk. Pour in the pumpkin purée and vanilla extract, then whisk again until the colour is a uniform, deep orange and the texture is smooth with no lumps.
- Pour in the evaporated milk. Slowly stream the evaporated milk into the bowl while you whisk gently. The mixture will thin out noticeably, becoming a silky, pourable liquid that smells sweet and spicy. Stop whisking as soon as it’s combined—you don’t want to incorporate air bubbles.
- Fill the crust and bake. Pour the filling into your blind-baked crust right up to the rim. The surface will look glossy and slightly wobbly. Bake at 200°C (180°C fan) for 15 minutes, then reduce the temperature to 175°C (160°C fan) and bake for a further 30–35 minutes.
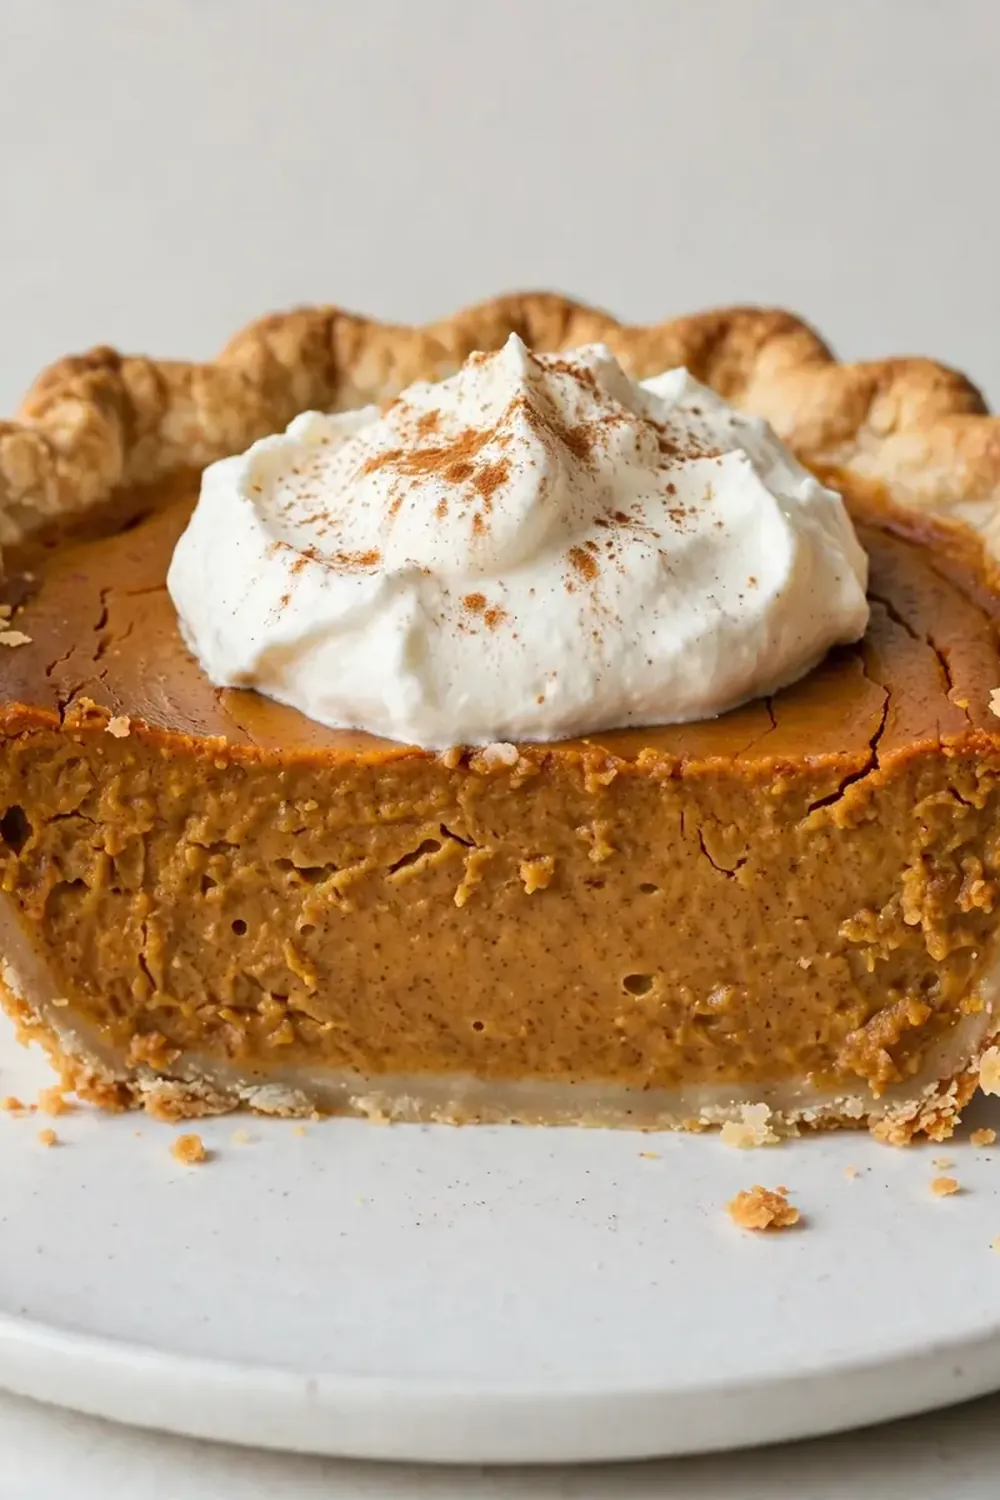
- Check for doneness. The pie is ready when the edges are set and puffed slightly, but the centre still has a gentle jiggle—like a firm jelly. If you insert a knife 5cm from the centre, it should come out mostly clean with a little moisture. The top will be a rich, burnished bronze and the kitchen will smell like autumn.
- Cool completely. Place the tray on a wire cooling rack and let it cool at room temperature for at least 2 hours. The filling will set as it cools, turning from wobbly to firm and sliceable. Do not refrigerate while warm—this creates condensation that makes the top weepy.
Tips From My Kitchen
- Blind-bake your crust every time. A soggy bottom is the enemy of a quick weeknight pie. Blind-baking ensures the base is cooked through and stays crisp, even with a wet filling. It adds only 15 minutes to your total time but saves you from a disappointing texture.
- Use evaporated milk, not condensed milk. Evaporated milk has a lower sugar content and a thinner consistency, which gives the pie a silky, custard-like texture. Condensed milk will make it overly sweet and dense. Always check the label—they look similar on the shelf but behave very differently.
- Strain your pumpkin purée for extra speed. Tinned pumpkin can sometimes be watery. Before you start, tip the purée into a fine-mesh sieve lined with kitchen paper and let it drain while you prep the crust. This removes excess liquid, meaning your pie sets faster and won’t crack on top.
- Make the filling ahead and store in the fridge. You can whisk the filling up to 24 hours in advance and keep it covered in the fridge. When you’re ready to bake, give it a quick whisk to recombine, pour it into the crust, and bake as directed. This is a lifesaver on chaotic evenings.
- Use a metal pie tin for even baking. Glass or ceramic dishes take longer to heat up, which can lead to an undercooked crust. A light-coloured metal tin distributes heat evenly and helps the base crisp up faster. If you only have glass, increase the blind-bake time by 5 minutes.
- Let it cool completely before slicing. I know it’s tempting to dig in while it’s warm, but a hot pie will collapse into a puddle. Two hours on the counter is non-negotiable. For best results, make the pie the night before and serve it the next day—the flavour deepens overnight.
Equipment You’ll Need
- 23cm metal pie tin (or ceramic/glass if that’s what you have)
- Large mixing bowl and a balloon whisk
- Baking tray (to catch drips and make moving the pie easy)
- Parchment paper
- Wire cooling rack
- Baking beans or dried lentils (for blind-baking)
Common Mistakes to Avoid
- Overcrowding the oven: If you’re baking the pie alongside a main dish like our Beef And Bean Chili Award Winning, make sure there’s enough space for air to circulate. A crowded oven causes uneven heat, leading to a cracked pie top or an underbaked crust. Always bake the pie on the middle rack with nothing above it.
- Wrong temperature: Starting the pie at 200°C (180°C fan) for the first 15 minutes is crucial—it gives the crust a head start on browning. If you bake the whole thing at a low temperature, the crust will be pale and doughy. The drop to 175°C (160°C fan) then prevents the filling from curdling while it finishes setting.
- Skipping the rest time: A pie that hasn’t rested will be runny and impossible to slice neatly. The filling needs time to reabsorb moisture and firm up. Resting also allows the flavours to meld; a freshly baked pie tastes good, but a rested one tastes incredible.
Delicious Variations to Try
- Spicy Version: Add ½ teaspoon of cayenne pepper and ¼ teaspoon of black pepper to the spice mix. The heat cuts through the sweetness beautifully and gives the pie a warming kick that pairs well with a dollop of crème fraîche.
- Vegan Option: Replace the evaporated milk with a 400ml tin of full-fat coconut milk, and use 3 tablespoons of cornflour mixed with 4 tablespoons of water as an egg replacer. The coconut milk adds a subtle richness, and the pie sets up just as firmly as the original.
- Different Protein Pairing: Serve slices of this pie alongside a savoury Baked Lemon Herb Cod for a surprising but delightful dinner balance. The bright, citrusy fish cuts through the sweet spice of the pie, making for a memorable weeknight plate.
What to Serve With Homemade Pumpkin Pie
- A generous dollop of lightly whipped double cream (unsweetened, to balance the sugar)
- A dusting of ground cinnamon or a few star anise on top for a pretty finish
- A strong cup of black coffee or a mug of hot chai tea
- A side of roasted nuts or a simple green salad if you’re serving it after a heavier meal
Frequently Asked Questions
Homemade Pumpkin Pie
Ingredients
Method
-
Preheat the oven and prepare the crust. Set your oven to 200°C (180°C fan). Place your unbaked pastry case on a baking tray lined with parchment paper. This catches any drips and makes cleanup a breeze. Prick the base of the pastry all over with a fork—you’ll see tiny steam holes that stop the base from puffing up.
-
Blind-bake the crust (optional but recommended). Line the pastry with a sheet of parchment and fill with baking beans or dried lentils. Bake for 12 minutes until the edges look pale gold and feel dry to the touch. Remove the parchment and beans, then bake for another 5 minutes until the base is a light biscuit colour and slightly firm.
-
Whisk the dry ingredients. In a large bowl, combine the golden caster sugar, cinnamon, ginger, cloves, nutmeg, and salt. Whisk them together until you can smell the spices blooming—that fragrant, warm aroma tells you they’re ready.
-
Add the wet ingredients. Crack the eggs into the spiced sugar and whisk vigorously until the mixture is thick, pale, and falls in a ribbon from the whisk. Pour in the pumpkin purée and vanilla extract, then whisk again until the colour is a uniform, deep orange and the texture is smooth with no lumps.
-
Pour in the evaporated milk. Slowly stream the evaporated milk into the bowl while you whisk gently. The mixture will thin out noticeably, becoming a silky, pourable liquid that smells sweet and spicy. Stop whisking as soon as it’s combined—you don’t want to incorporate air bubbles.
-
Fill the crust and bake. Pour the filling into your blind-baked crust right up to the rim. The surface will look glossy and slightly wobbly. Bake at 200°C (180°C fan) for 15 minutes, then reduce the temperature to 175°C (160°C fan) and bake for a further 30–35 minutes.
-
Check for doneness. The pie is ready when the edges are set and puffed slightly, but the centre still has a gentle jiggle—like a firm jelly. If you insert a knife 5cm from the centre, it should come out mostly clean with a little moisture. The top will be a rich, burnished bronze and the kitchen will smell like autumn.
-
Cool completely. Place the tray on a wire cooling rack and let it cool at room temperature for at least 2 hours. The filling will set as it cools, turning from wobbly to firm and sliceable. Do not refrigerate while warm—this creates condensation that makes the top weepy.
Notes
I hope this Homemade Pumpkin Pie becomes your go-to for those busy nights when you still want something homemade and special. Friends always ask me for this recipe after trying it at dinner parties, and I love that it’s just as easy on a Tuesday as it is on a Sunday. If you give it a go, drop a comment below and let me know how it turned out—I’d love to hear about your weeknight wins.