Crispy Chicken Strips (Better Than Fast Food)
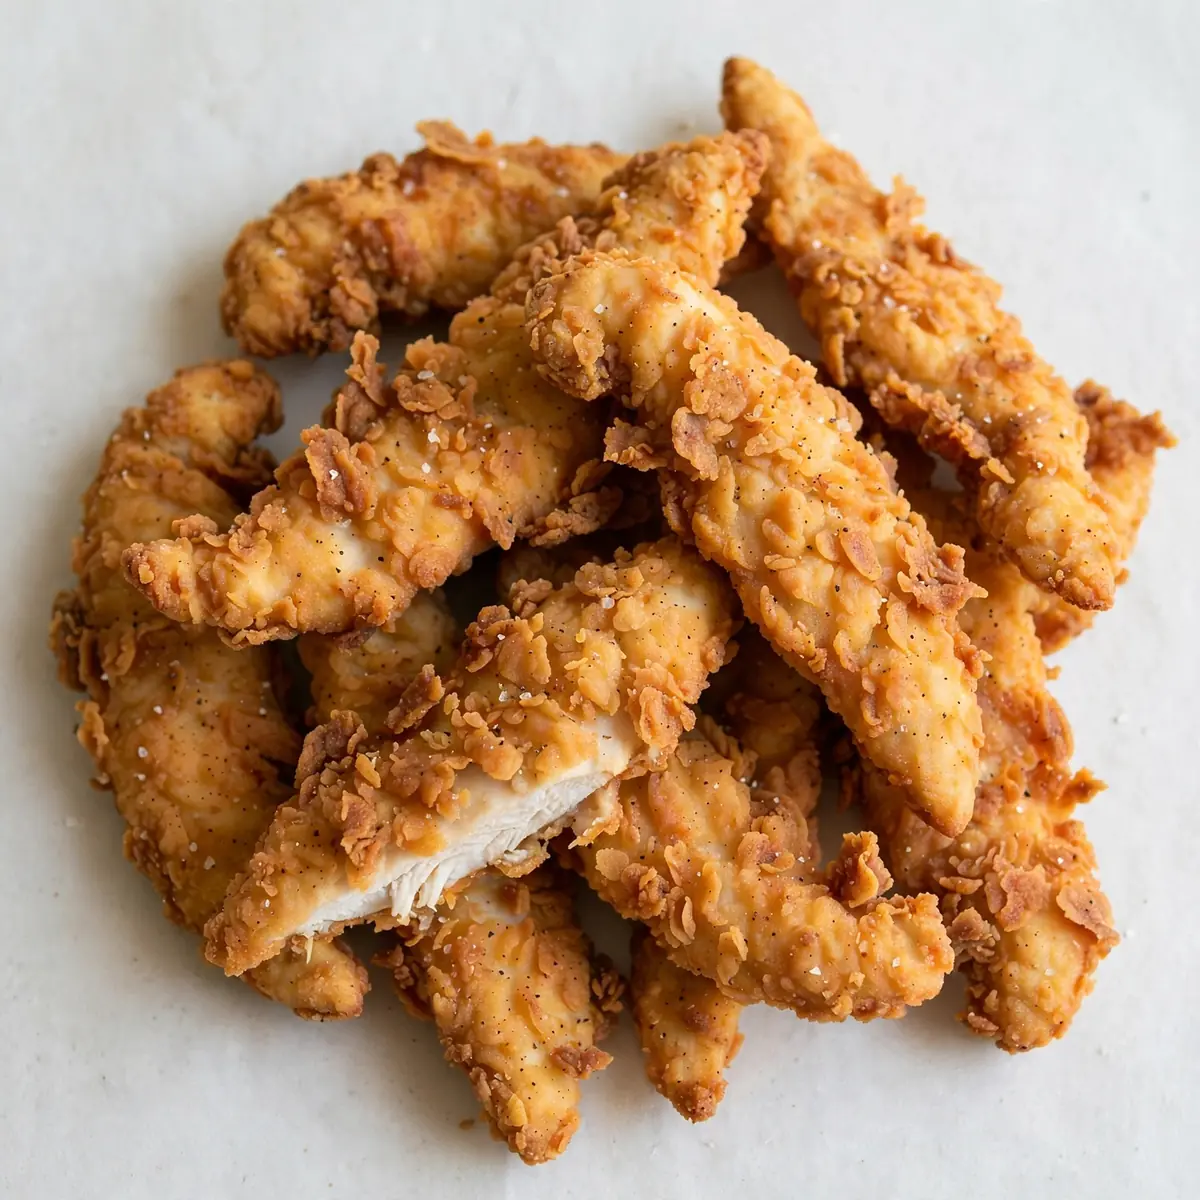
When the clock strikes six and the family is hungry, I need a dinner that comes together faster than a drive-thru run but tastes twice as good. These crispy chicken strips are my weeknight secret weapon — they hit the table in under thirty minutes with minimal washing up, and I’ve even got a clever make-ahead trick that saves me on the busiest evenings.
Recipe Overview
- Prep time: 10 minutes
- Cook time: 15 minutes
- Total time: 25 minutes
- Servings: 4
- Difficulty: Easy
Why You’ll Love This Crispy Chicken Strips (Better Than Fast Food)
- Ready in under 30 minutes: From fridge to table in the time it takes to order and collect takeaway, these strips save your evening.
- One-pan cooking: I use a single frying pan for the whole job, which means fewer dishes to scrub after dinner — a win for any busy parent.
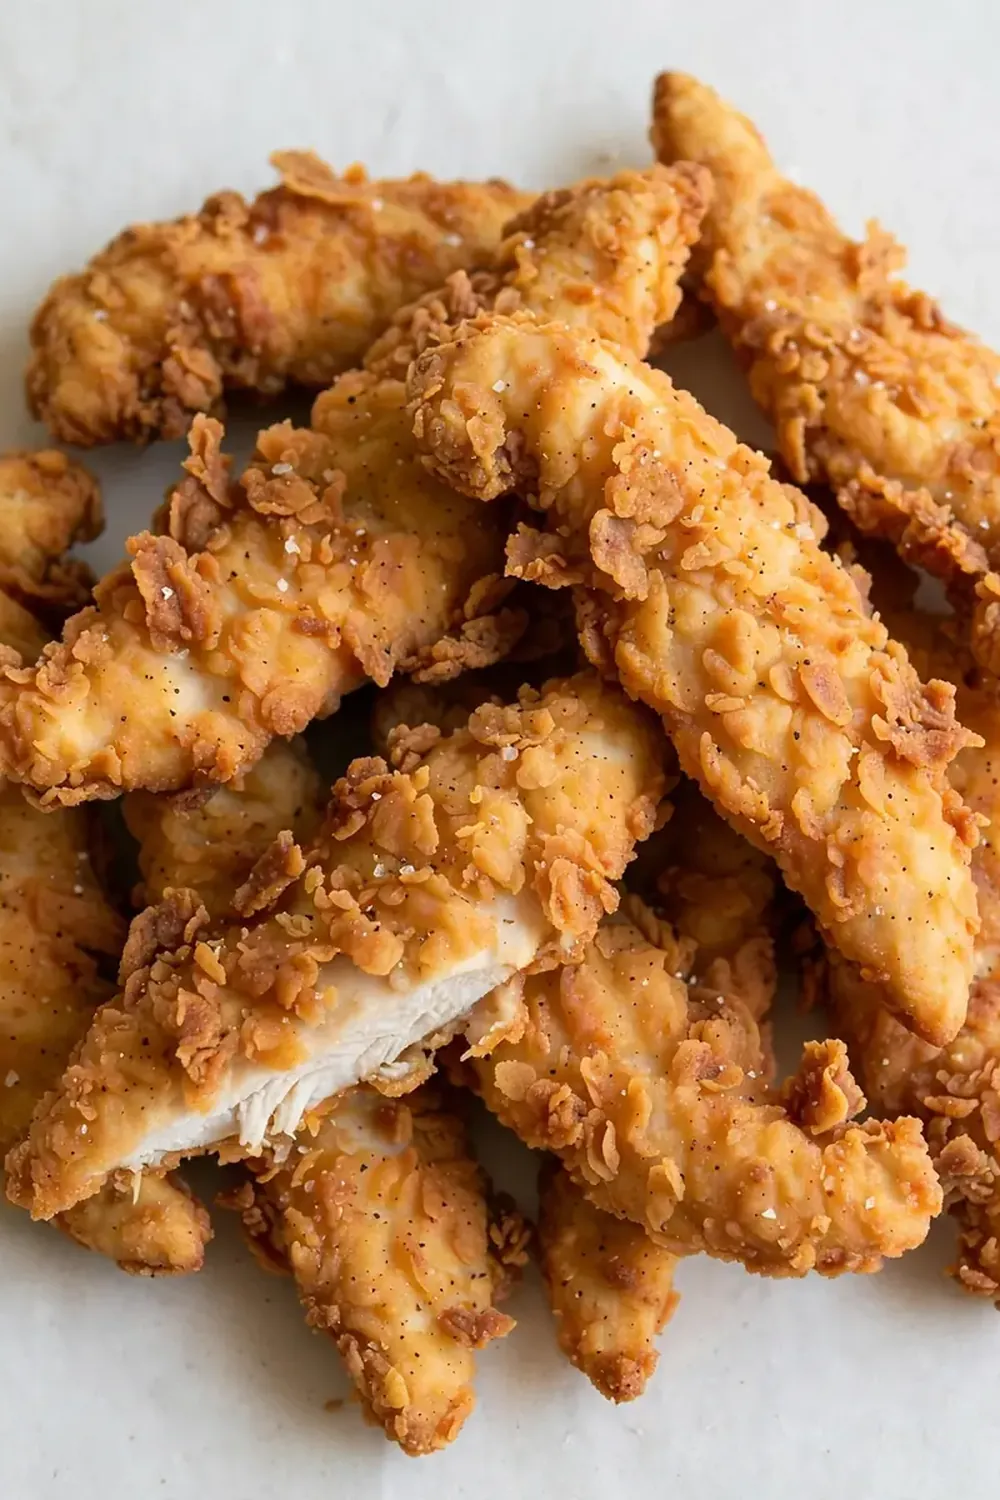
- Crunchy coating that stays on: No sad, soggy breading falling off in the pan. My method locks the crust firmly onto every strip.
- Make-ahead friendly: You can prep these strips the night before and keep them in the fridge, ready to fry when you walk through the door.
- Better than any fast-food version: Homemade means you control the salt, the oil, and the freshness. Once you try these, you will not go back.
Ingredients You’ll Need
- 500g chicken breast fillets
- 100g plain flour
- 2 large eggs
- 120g panko breadcrumbs
- 1 teaspoon garlic powder
- 1 teaspoon onion powder
- 1 teaspoon smoked paprika
- ½ teaspoon black pepper
- 1 teaspoon salt
- Vegetable oil for frying (about 250ml)
- Optional: 1 tablespoon grated Parmesan cheese
Tip: For the crunchiest coating, use panko breadcrumbs rather than standard ones. They create that light, shattering crust that fast-food chains try to imitate but never quite nail.
How to Make Crispy Chicken Strips (Better Than Fast Food)
- Prep the chicken: Lay the chicken breasts on a cutting board and slice them lengthways into strips about 2cm thick. You should get 4-5 strips per breast. The strips should feel even and uniform in your hand — this ensures they all cook at the same speed.
- Set up your coating station: In a shallow bowl, combine the flour with half the garlic powder, onion powder, smoked paprika, salt, and pepper. In a second bowl, beat the eggs until they look pale yellow and slightly frothy on top — this tells you they are well mixed. In a third bowl, combine the panko breadcrumbs with the remaining spices and the Parmesan if using.
- Coat the strips: Take a chicken strip and dredge it through the flour mixture, pressing gently so it sticks. Shake off any excess — you want a light, even coating, not a clumpy one. Dip it into the beaten egg, letting any extra drip back into the bowl, then press it firmly into the panko breadcrumbs. The strip should look completely covered with a dry, sandy texture.
- Heat the oil: Pour the vegetable oil into a large frying pan or skillet to a depth of about 1cm. Heat over a medium-high flame until a pinch of breadcrumbs sizzles immediately when dropped in — this usually takes about 3 minutes. The oil should shimmer but not smoke.
- Fry in batches: Carefully lay 4-5 coated strips into the hot oil, making sure they are not touching. You should hear a steady, cheerful sizzle as they hit the pan — if the sound is weak, the oil is not hot enough. Fry for 3-4 minutes on the first side until the underside turns a deep golden brown and the edges look crisp.
- Flip and finish: Using tongs, flip each strip over. The cooked side should be beautifully browned and firm to the touch. Cook for another 3-4 minutes. The chicken should feel springy when pressed, and the coating will have darkened to a rich amber colour. The smell at this point is absolutely irresistible — toasty, savoury, and slightly smoky.
- Drain and rest: Transfer the cooked strips to a plate lined with kitchen paper. Let them rest for 2 minutes — this step is crucial for keeping the coating crunchy. You will notice the paper absorbing any excess oil while the strips stay hot inside.
Tips From My Kitchen
- Dry the chicken thoroughly: Before you start coating, pat the chicken strips dry with kitchen paper. Any moisture on the surface will steam the breading and make it fall off during frying. I learned this the hard way after a few disappointing batches.
- Use one hand for wet, one for dry: Keep one hand for handling the raw chicken and the flour, and the other for the egg wash and breadcrumbs. This stops your fingers from becoming a sticky, clumpy mess and makes the whole process much faster.
- Don’t skip the rest time after coating: Once you have breaded all the strips, let them sit on a tray for 5 minutes before frying. This gives the coating time to adhere firmly to the chicken, so it stays put in the hot oil rather than floating away.
- Keep the oil temperature steady: If the oil gets too hot, the outside burns before the inside cooks. If it is too cool, the strips absorb oil and turn greasy. I keep a kitchen thermometer handy, but you can also test by dropping in a breadcrumb — it should sizzle immediately and float to the surface.
- Make ahead for busy nights: Coat the strips completely, then arrange them in a single layer on a baking tray lined with baking paper. Cover with cling film and refrigerate for up to 24 hours. When you are ready to cook, simply fry them straight from the fridge — no need to bring them to room temperature.
- Double-coat for extra crunch: If you want an even thicker, crunchier crust, repeat the egg and breadcrumb step. Dip the coated strip back into the egg and then into the breadcrumbs a second time. The result is a shatteringly crispy exterior that stays crunchy even after cooling.
Equipment You’ll Need
- Large frying pan or skillet
- Sharp knife and cutting board
- Mixing bowls (3 shallow ones work best)
- Wooden spoon or spatula
- Tongs for flipping
- Kitchen thermometer (optional but helpful)
- Plate lined with kitchen paper
Common Mistakes to Avoid
- Overcrowding the pan: When you add too many strips at once, the oil temperature drops dramatically. This causes the coating to absorb oil and turn greasy instead of crispy. Fry in small batches, leaving space between each strip, and allow the oil to come back up to temperature between batches.
- Wrong temperature: If the oil is not hot enough, the breading soaks up oil like a sponge. If it is too hot, the outside burns while the inside stays raw. Aim for 175°C if you are using a thermometer, or test with a breadcrumb — it should sizzle on contact and turn golden within 30 seconds.
- Skipping the rest time: I know it is tempting to serve these immediately, but resting the strips on kitchen paper for 2 minutes allows excess oil to drain away and the coating to set. Strips served straight from the pan can taste greasy and lose their crunch within minutes.
Delicious Variations to Try
- Spicy Version: Add 1 teaspoon of cayenne pepper and ½ teaspoon of chilli flakes to the flour mixture. You can also stir a tablespoon of hot sauce into the beaten eggs for an extra kick that runs right through the coating.
- Vegetarian/Vegan Option: Replace the chicken with firm tofu or large oyster mushrooms. Slice the tofu into thick strips and press out the moisture before coating. For a vegan version, use plant-based milk mixed with a tablespoon of cornflour instead of eggs.
- Different Protein: This coating works brilliantly on turkey breast strips, fish fillets like cod or haddock, or even prawns. Adjust the cooking time depending on the protein — fish will cook faster, so check after 2 minutes per side.
What to Serve With Crispy Chicken Strips (Better Than Fast Food)
- A simple side salad with a tangy vinaigrette cuts through the richness of the fried coating.
- Oven-baked chips or sweet potato wedges make this a proper meal that rivals any takeaway.
- Dipping sauces are essential — try a homemade honey mustard, a spicy sriracha mayo, or a classic barbecue sauce.
- Steamed green beans or a quick coleslaw add freshness and crunch without extra effort.
Still hungry for ideas? You might also love Olive Garden Chicken Alfredo Better Than The Restaurant, Creamy Garlic Chicken Pasta Recipe Comfort Food Dinner from our sister kitchens.
Frequently Asked Questions
Crispy Chicken Strips (Better Than Fast Food)
Ingredients
Method
- Prep the chicken: Lay the chicken breasts on a cutting board and slice them lengthways into strips about 2cm thick. You should get 4-5 strips per breast. The strips should feel even and uniform in your hand — this ensures they all cook at the same speed.
- Set up your coating station: In a shallow bowl, combine the flour with half the garlic powder, onion powder, smoked paprika, salt, and pepper. In a second bowl, beat the eggs until they look pale yellow and slightly frothy on top — this tells you they are well mixed. In a third bowl, combine the panko breadcrumbs with the remaining spices and the Parmesan if using.
- Coat the strips: Take a chicken strip and dredge it through the flour mixture, pressing gently so it sticks. Shake off any excess — you want a light, even coating, not a clumpy one. Dip it into the beaten egg, letting any extra drip back into the bowl, then press it firmly into the panko breadcrumbs. The strip should look completely covered with a dry, sandy texture.
- Heat the oil: Pour the vegetable oil into a large frying pan or skillet to a depth of about 1cm. Heat over a medium-high flame until a pinch of breadcrumbs sizzles immediately when dropped in — this usually takes about 3 minutes. The oil should shimmer but not smoke.
- Fry in batches: Carefully lay 4-5 coated strips into the hot oil, making sure they are not touching. You should hear a steady, cheerful sizzle as they hit the pan — if the sound is weak, the oil is not hot enough. Fry for 3-4 minutes on the first side until the underside turns a deep golden brown and the edges look crisp.
- Flip and finish: Using tongs, flip each strip over. The cooked side should be beautifully browned and firm to the touch. Cook for another 3-4 minutes. The chicken should feel springy when pressed, and the coating will have darkened to a rich amber colour. The smell at this point is absolutely irresistible — toasty, savoury, and slightly smoky.
- Drain and rest: Transfer the cooked strips to a plate lined with kitchen paper. Let them rest for 2 minutes — this step is crucial for keeping the coating crunchy. You will notice the paper absorbing any excess oil while the strips stay hot inside.
Notes
I stumbled upon this combination by accident one harried Tuesday evening, and it’s been a hit ever since. Friends always ask me for this recipe after trying it at dinner parties, surprised that something so straightforward can outshine their favourite takeaway. If you give these crispy chicken strips a go, I would love to hear how they turned out for your family — drop a comment below and let me know what dipping sauce you chose.